

Send a request or cancel creating it
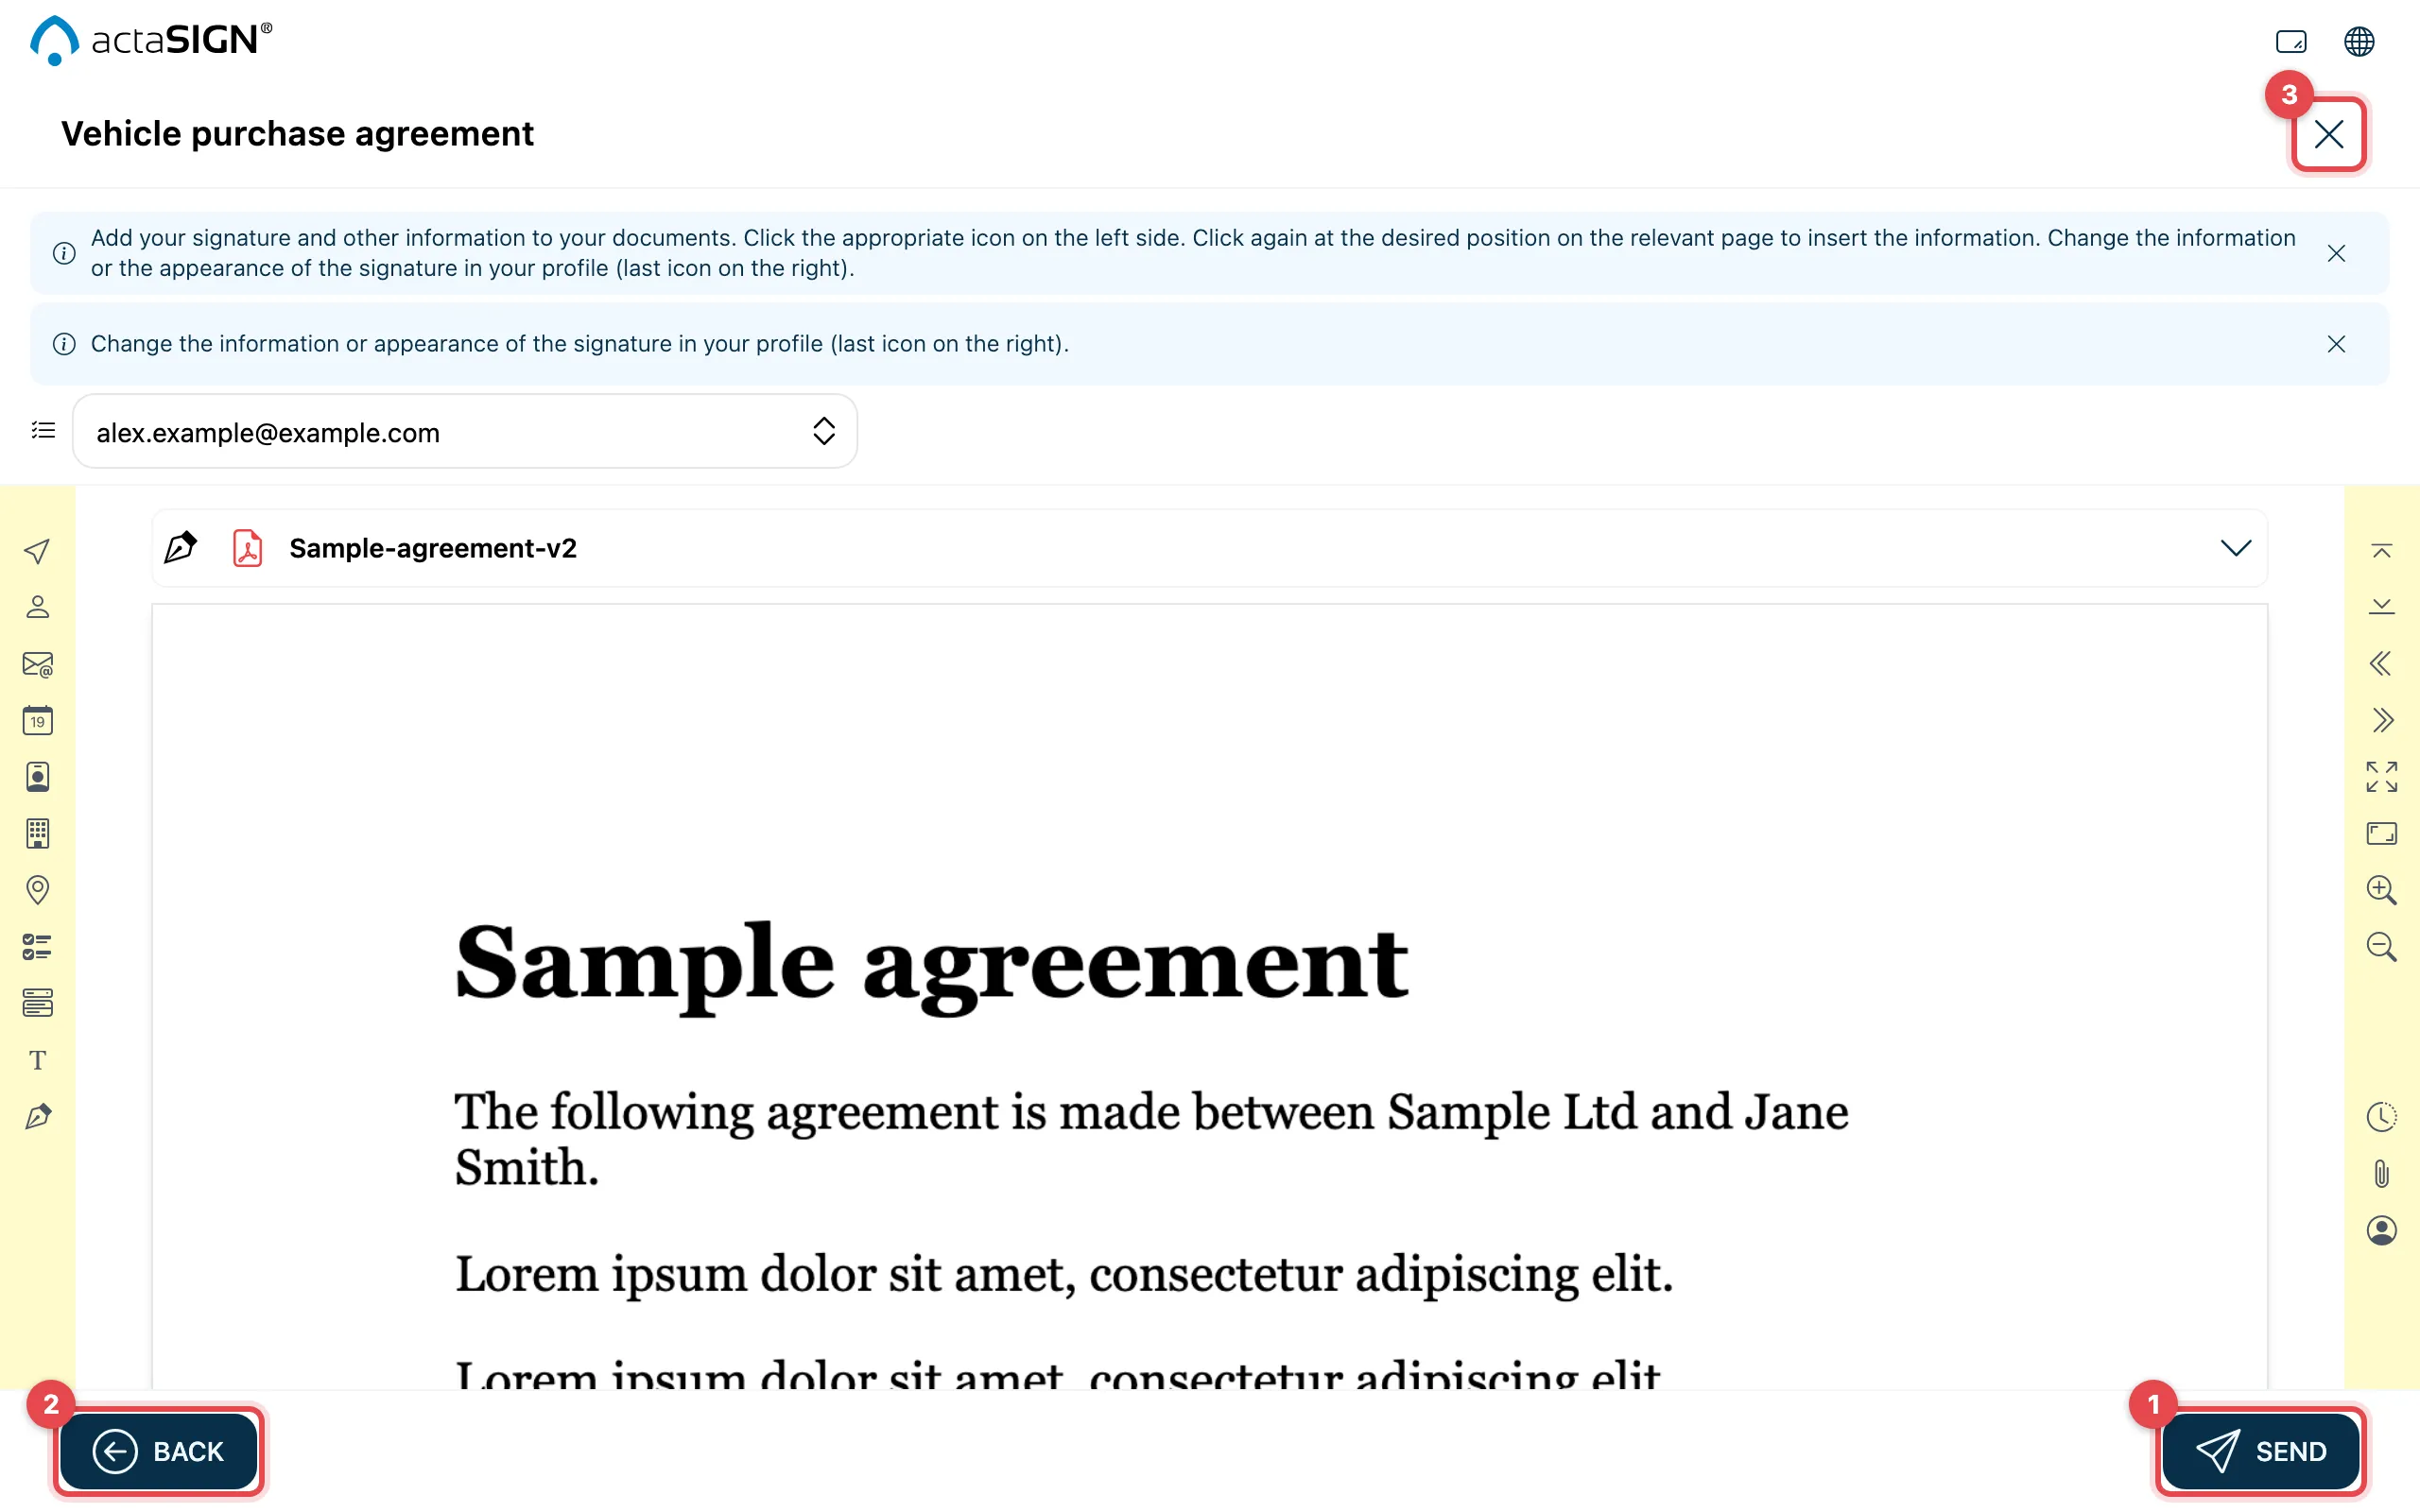
Once all fields are placed, send the request. The people in the first step get an e-mail right away. If you do not want to send yet, keep the request as a draft.
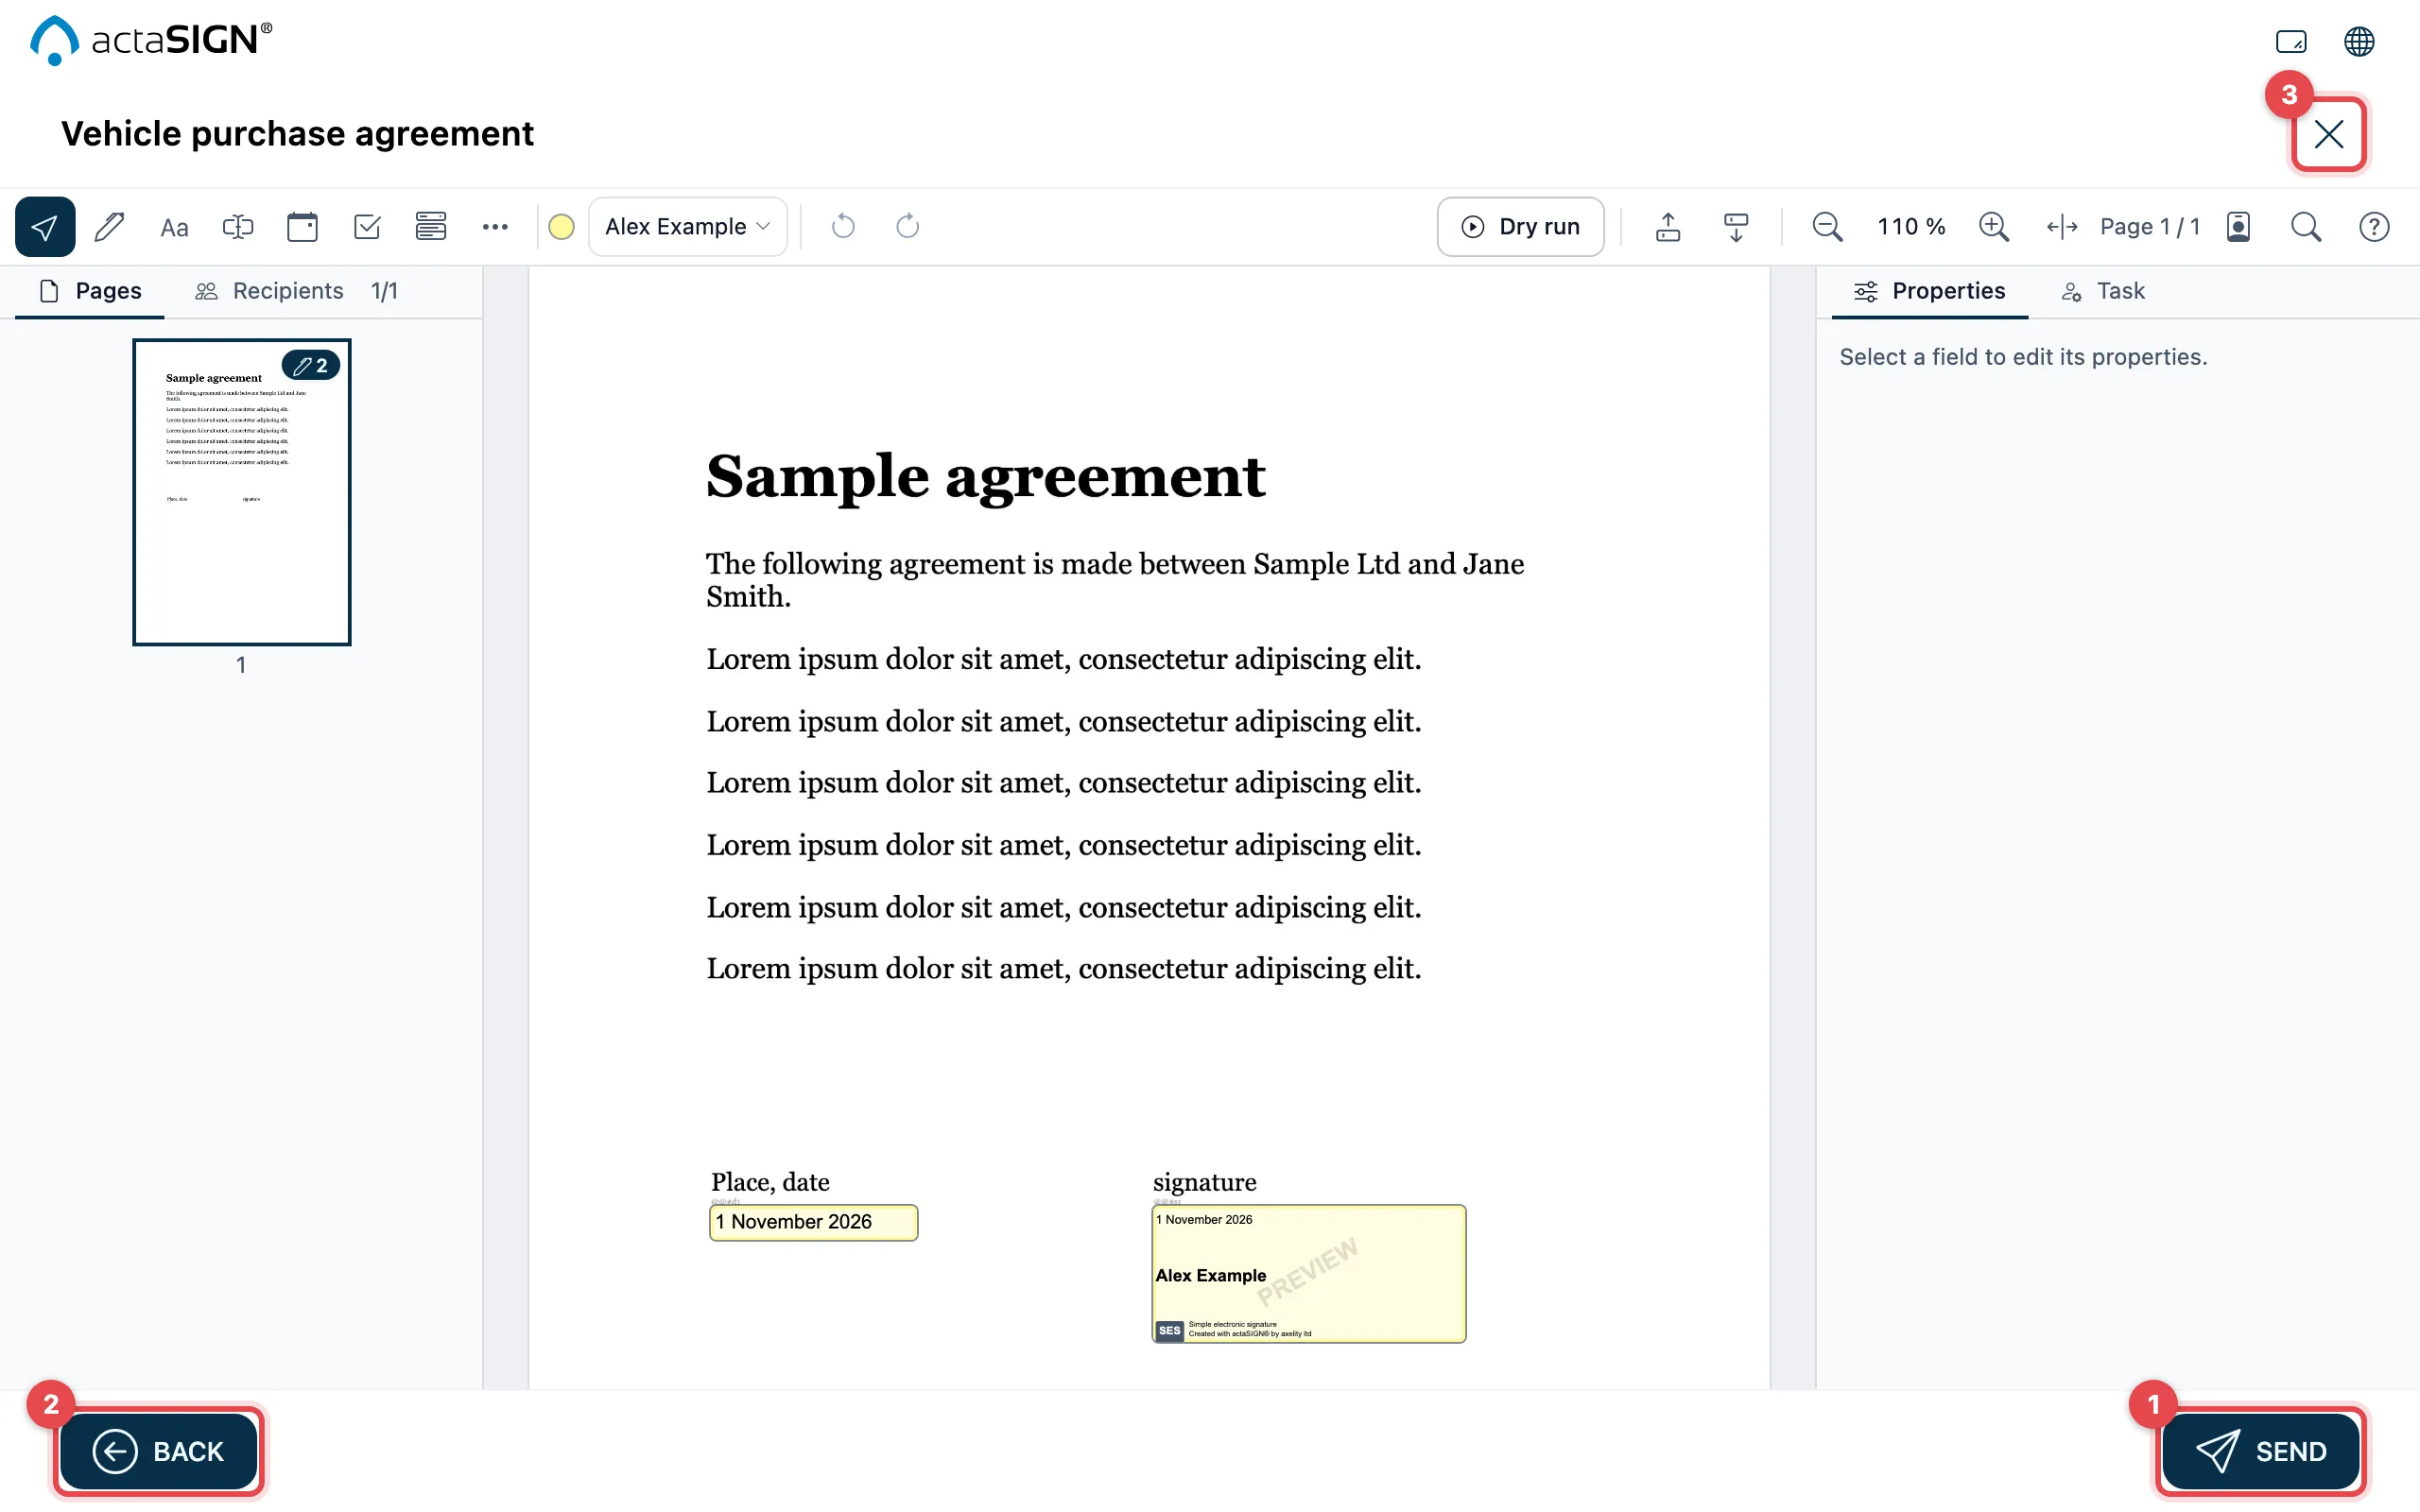
In Studio, you can try out the request with the Dry run before sending. The Recipients tab on the left shows whether all people are Ready.
- Click Send. actaSIGN starts the request and takes you back to the home page.
- With Back you return to the workflow to change something. Your fields are kept.
- With the cross at the top right you cancel creating the request (see below).
What happens after sending
Section titled “What happens after sending”- The people in the first step get an e-mail with the link to their task. The people in the next steps follow as soon as the step before is done.
- The request is listed under Requests in the Sent tab. There you see who has already signed. See Track requests.
- When everyone is finished, the request moves to Done, and you get an e-mail (see Notifications).
Cancel creating the request
Section titled “Cancel creating the request”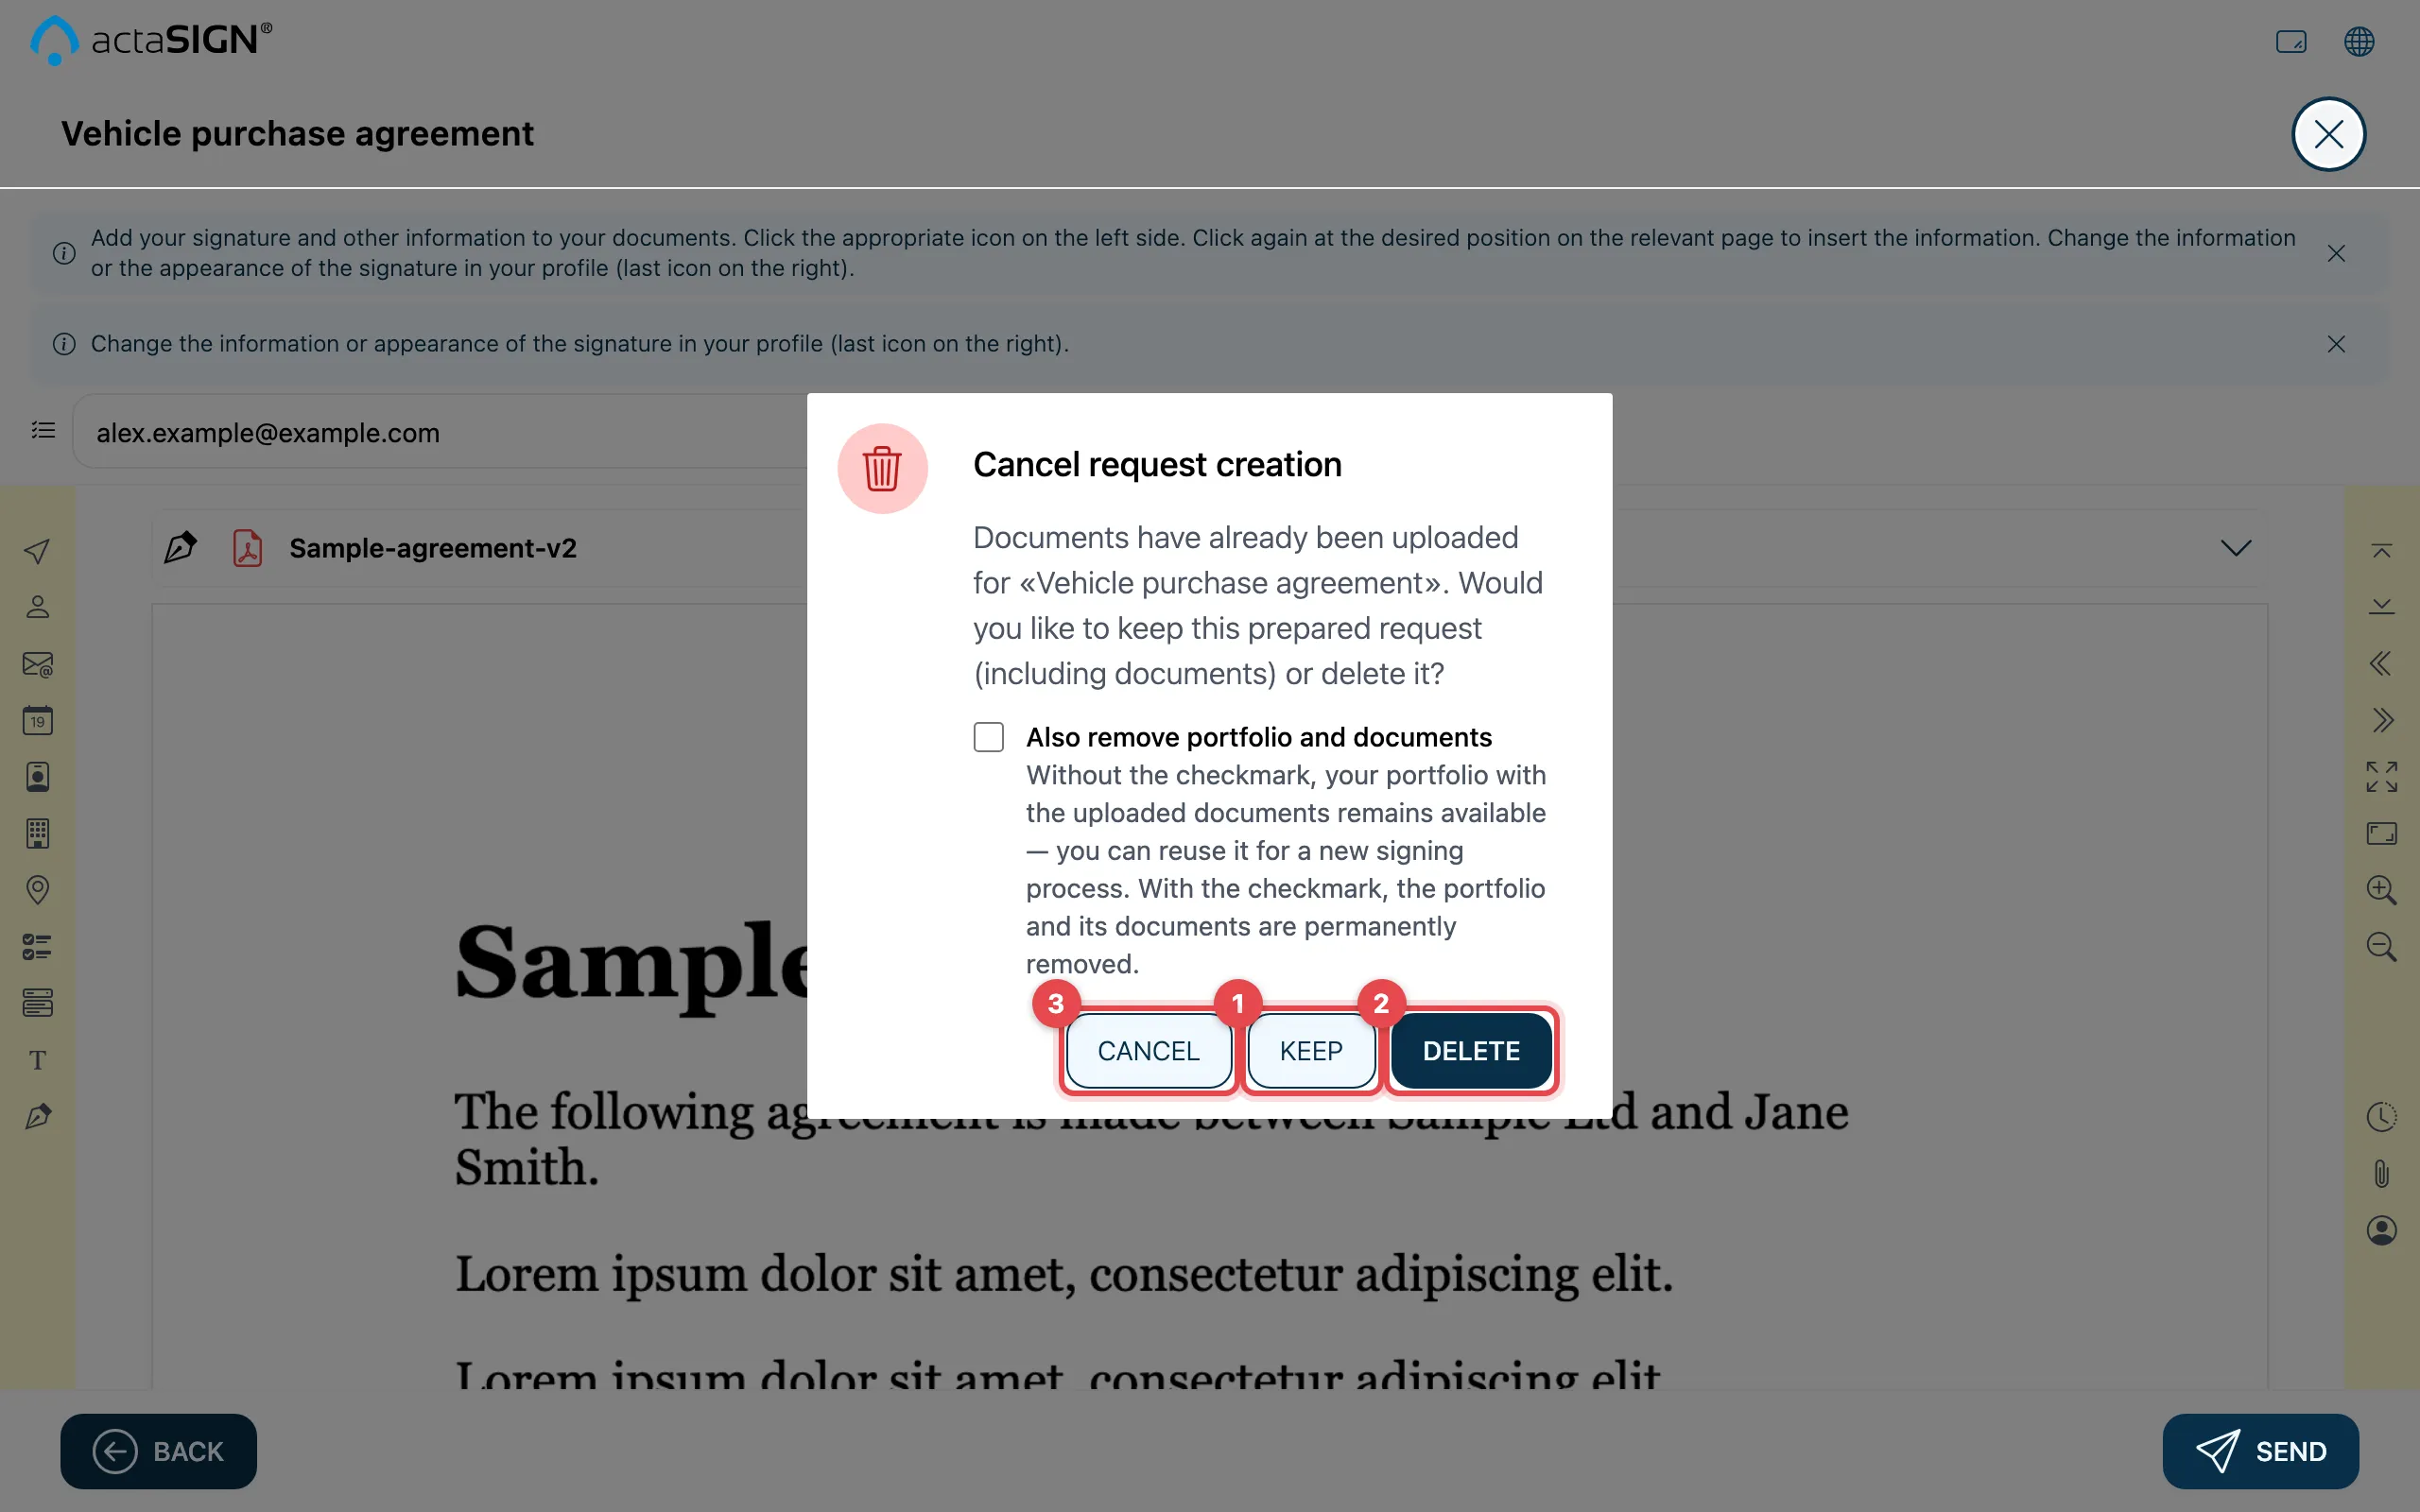
If documents have already been saved, actaSIGN asks what should happen to the prepared request:
- Keep: the request stays as a draft under Requests → Prepared. You can continue working on it later, see Drafts.
- Delete: the request is deleted. If you tick Also remove portfolio and documents, the uploaded documents are removed for good as well. Without the tick, they are kept as a portfolio.
- Cancel: you stay in the document and keep working.
The same question appears if you click Cancel at the bottom left of the assistant.
Good to know
Section titled “Good to know”- Send stays grey while the document is still being prepared or while a person is missing a required signature field. actaSIGN shows the reason next to the button. In Studio, the Recipients tab shows No signature field for this person.
- If the request cannot be started, Sending failed appears. The request then stays under Prepared; try again there with Perform.
- If you ticked mass send in the workflow, the button says Mass send instead of Send. See Mass send.