

Upload documents for a request
In the first step you set which files belong to the request and what happens to each file: is it signed, only read, or only sent along?
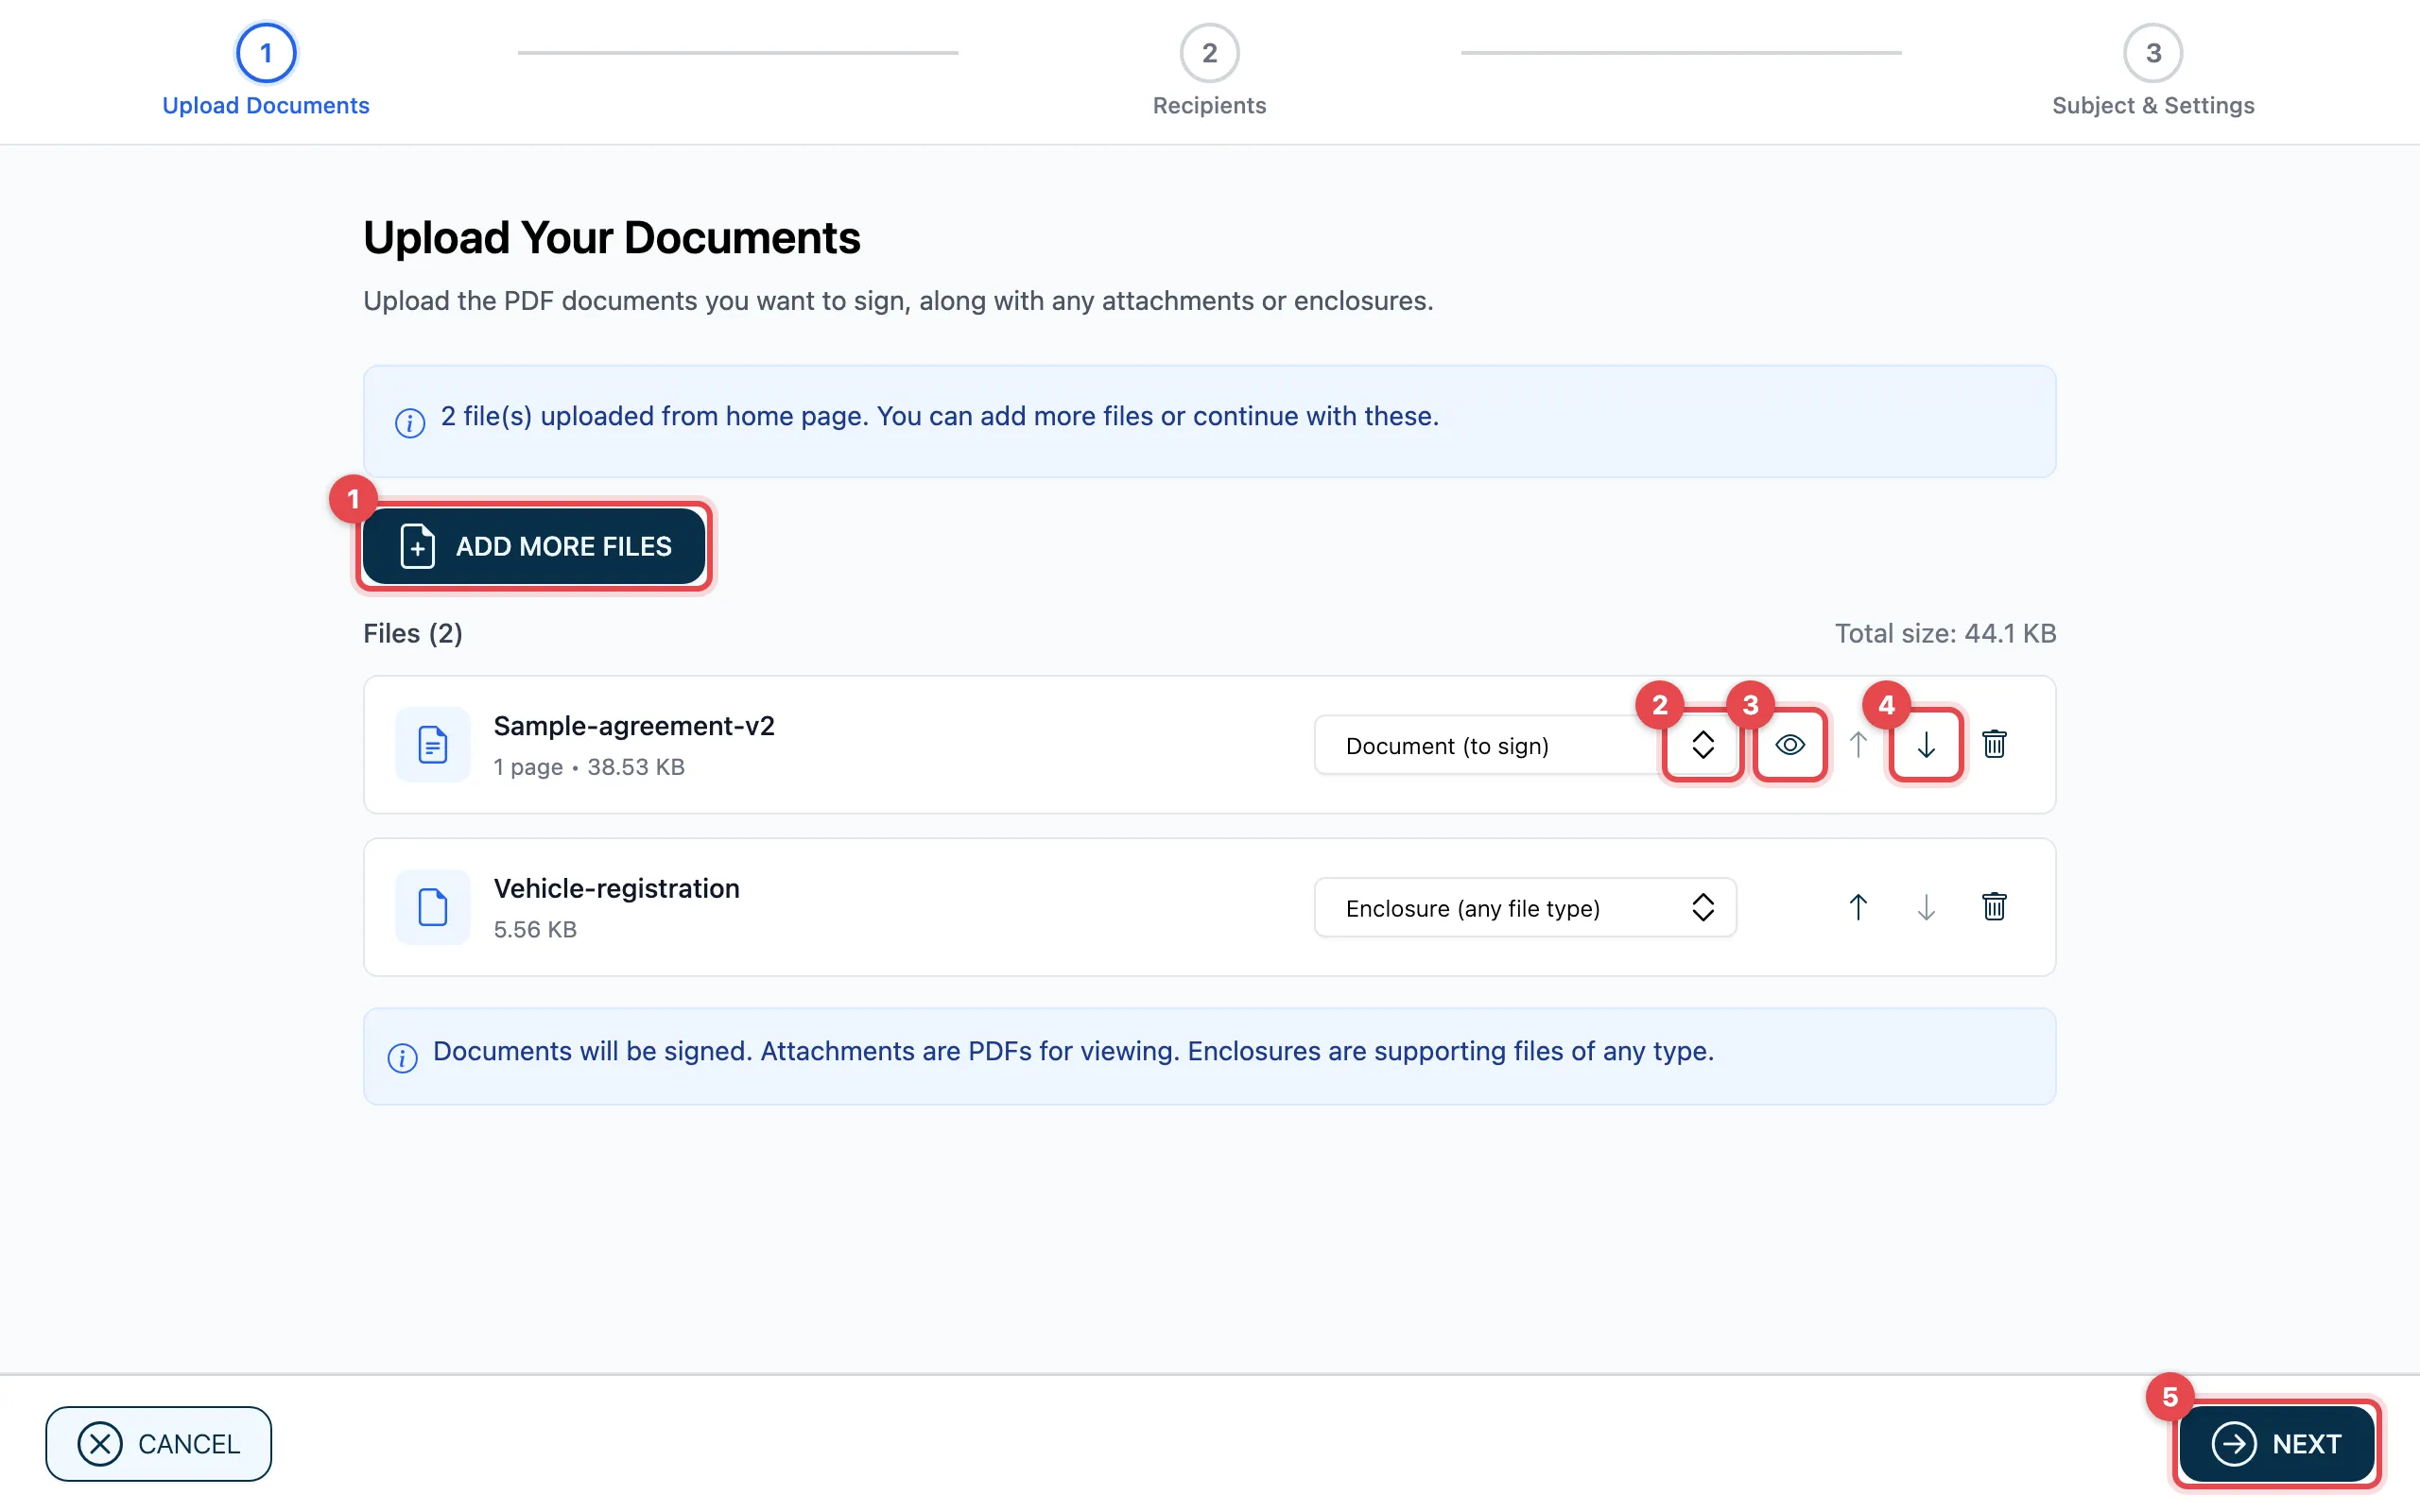
- With Add More Files you upload more files. You can also drag them into the field.
- For each file, choose what it is (see the table below).
- With the eye (Show preview) you look at a PDF before you continue.
- With Move up and Move down you change the order. With Remove you take a file out again.
- Click Next.
Document, attachment or enclosure
Section titled “Document, attachment or enclosure”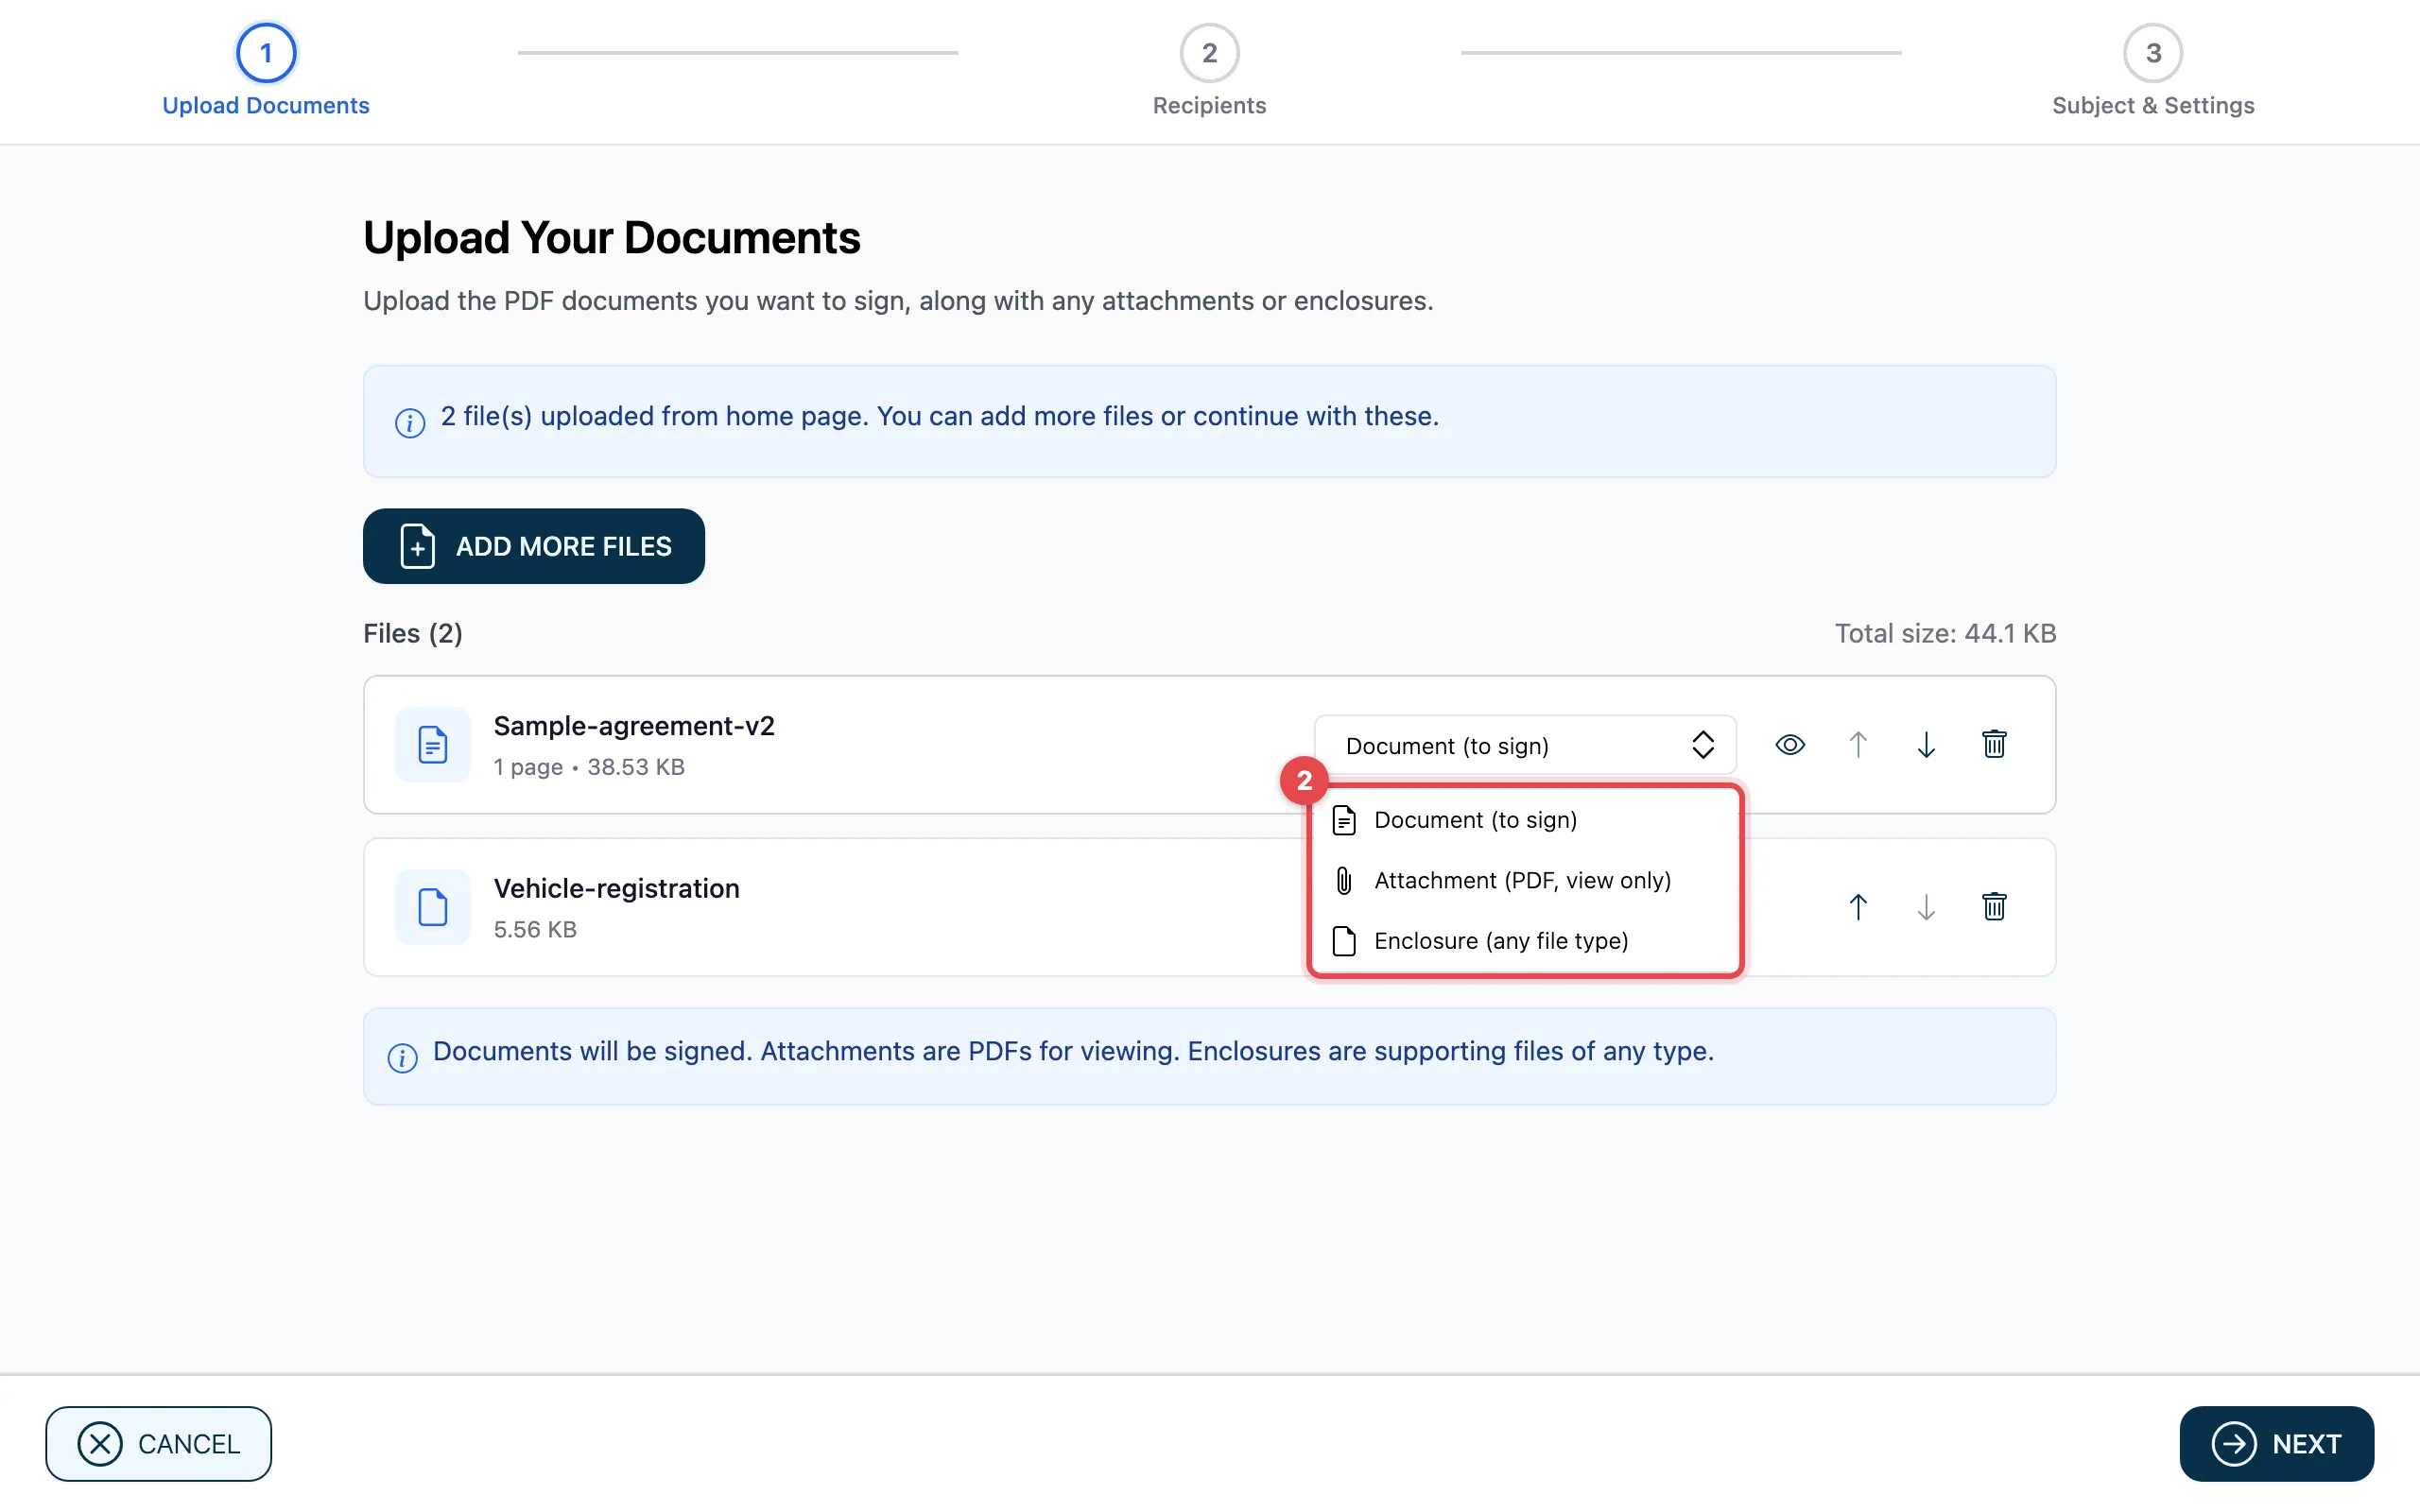
| Choice | What happens to it |
|---|---|
| Document (to sign) | The recipients sign this file. PDFs only. |
| Attachment (PDF, view only) | The recipients look at the PDF but do not sign it. |
| Enclosure (any file type) | The file is sent along, e.g. an image or a Word file. |
A file that is not a PDF can only be an Enclosure (any file type).
Preview
Section titled “Preview”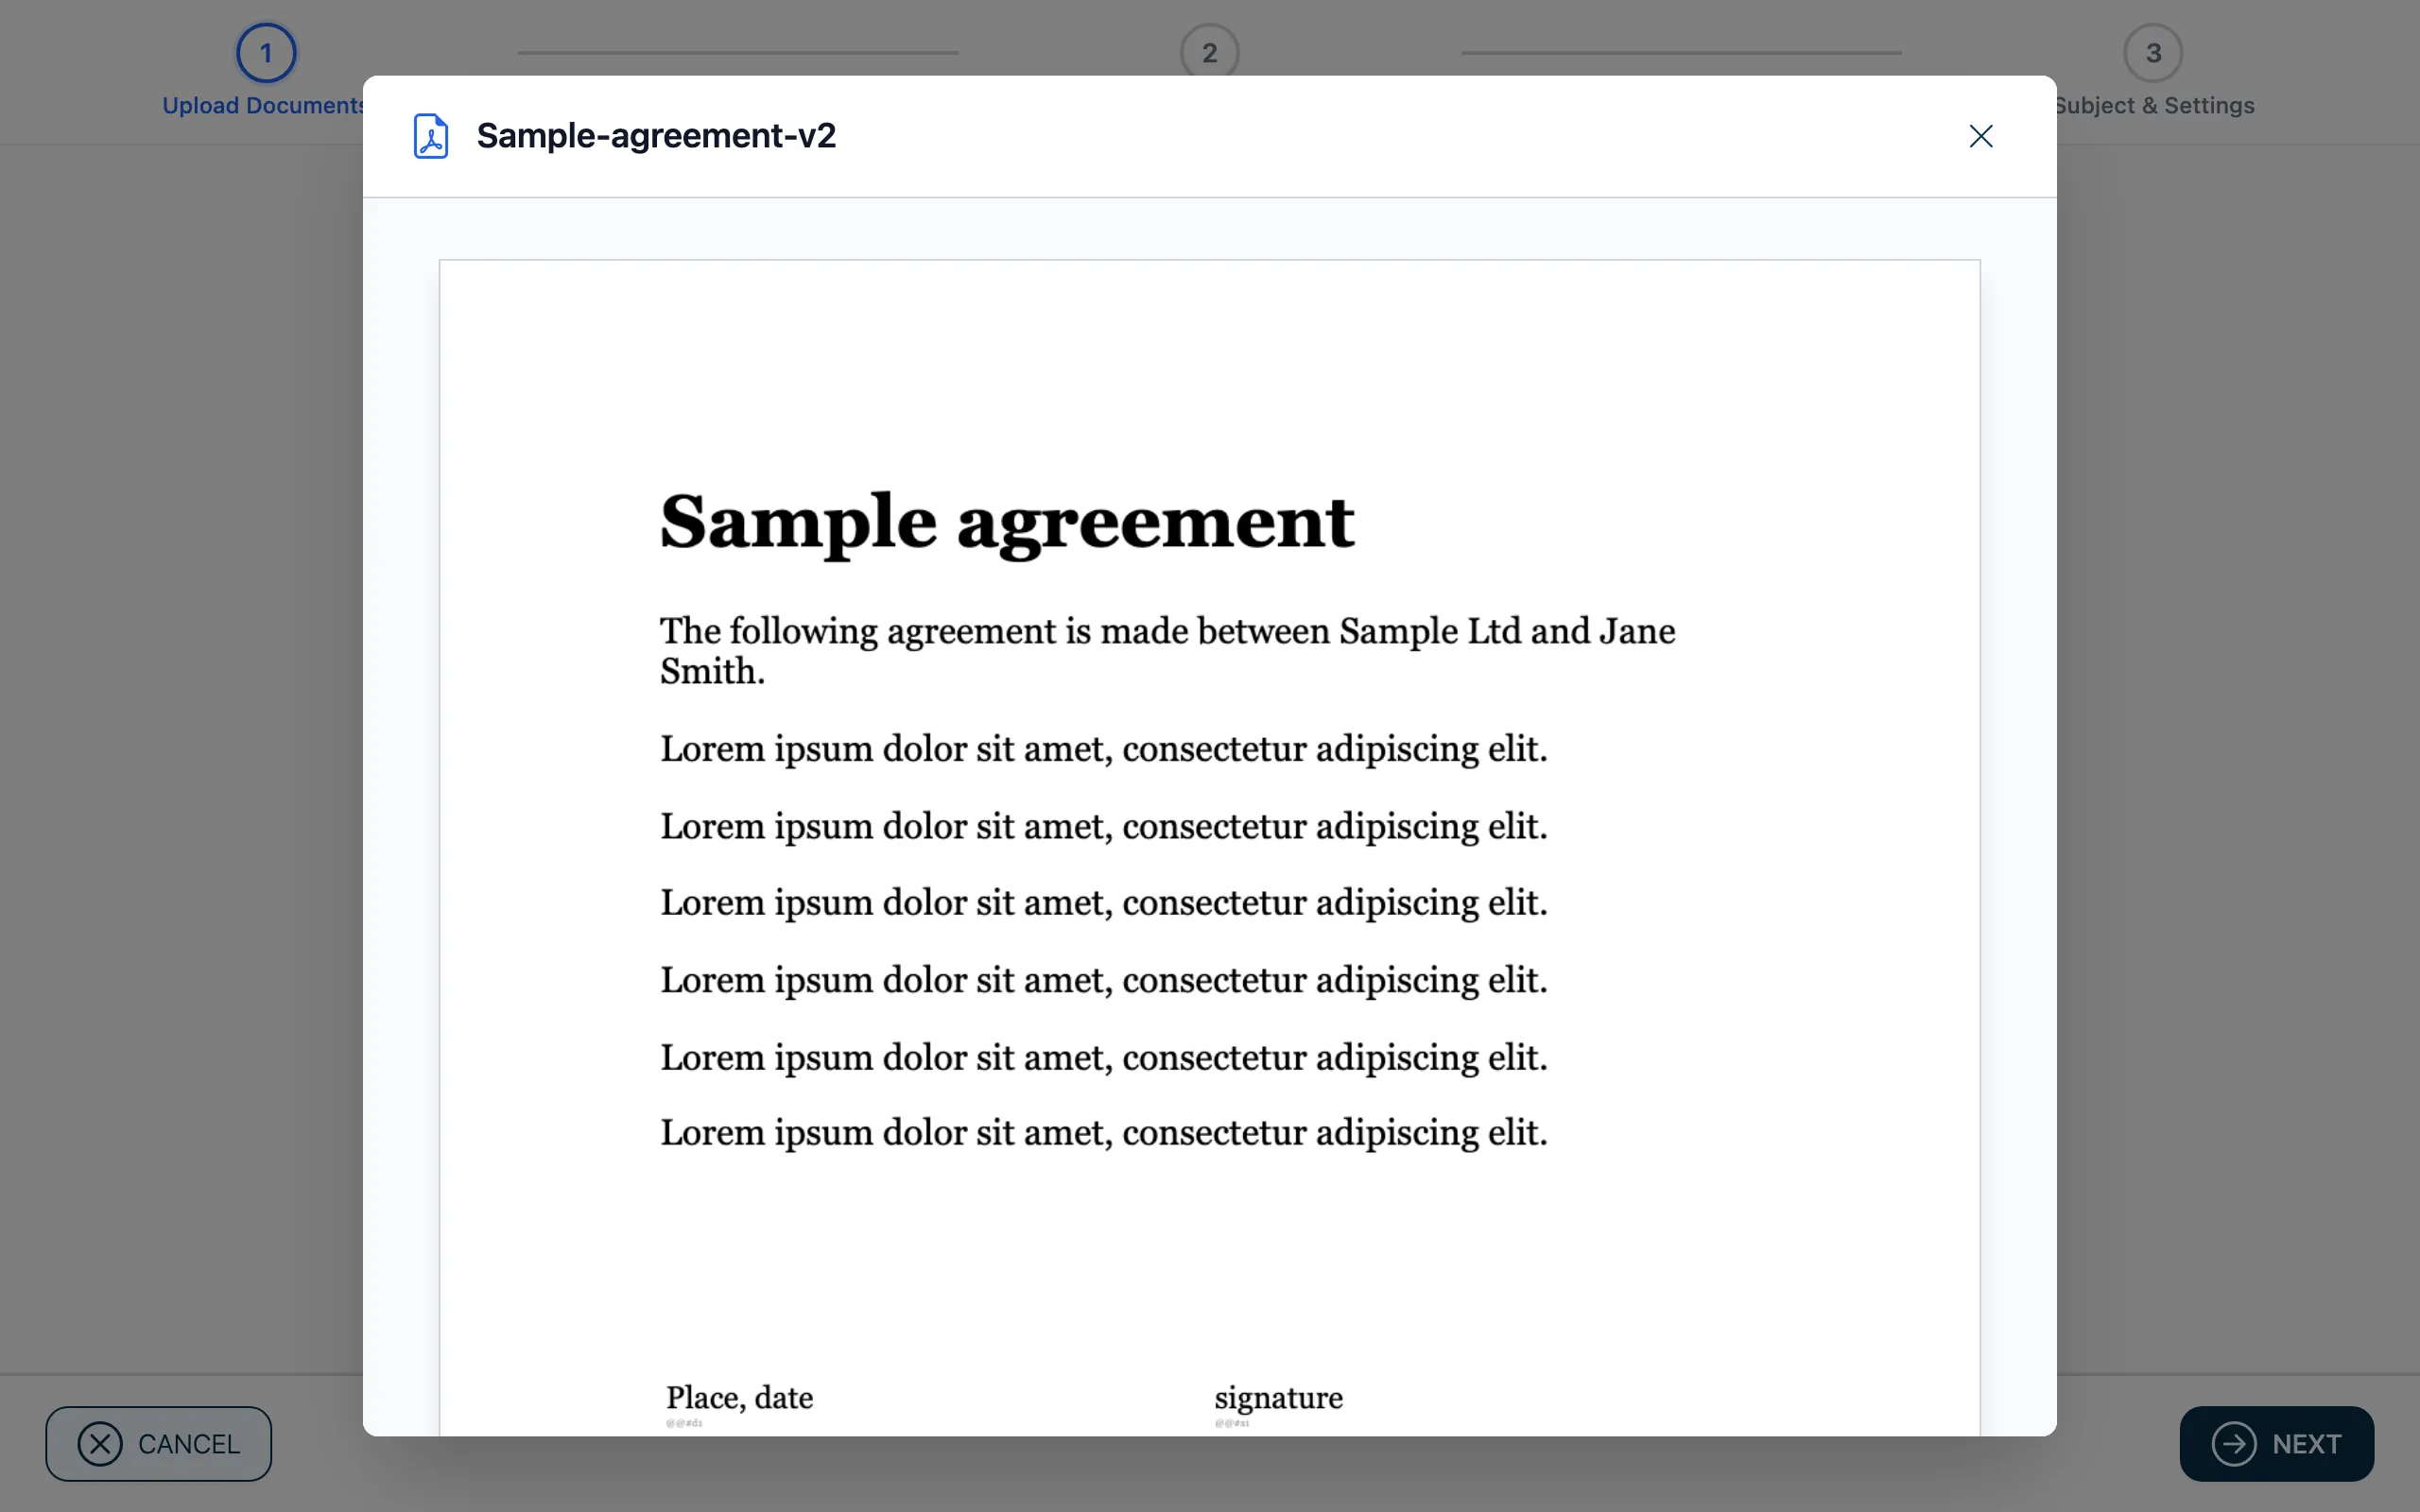
The preview shows the pages of the PDF. With Close or the Esc key you go back to the list.
Good to know
Section titled “Good to know”- At least one file must be a Document (to sign). Otherwise Next stays grey.
- The order of the files is the order in which the recipients see them.
- actaSIGN rejects protected PDFs: PDFs with a password, PDFs that do not allow filling in forms or adding comments, and certified PDFs that allow no changes. actaSIGN then shows PDF Cannot Be Used and explains how to make an unprotected copy (usually via Print → “Save as PDF”).
- If a file is too large, actaSIGN tells you right away during the upload.
- actaSIGN uses the name of the first file as a suggestion for the subject. You can change it in the next step.