

Create a signing request – overview
With a request you send one or more documents to other people so that they sign, approve or take note of them. actaSIGN guides you to the document in four steps. There you place the fields and send the request. This page shows the whole way; every detail has its own page.
The four steps
Section titled “The four steps”At the top of the assistant you see which step you are in. With Next you go to the next step, with Back to the previous one.
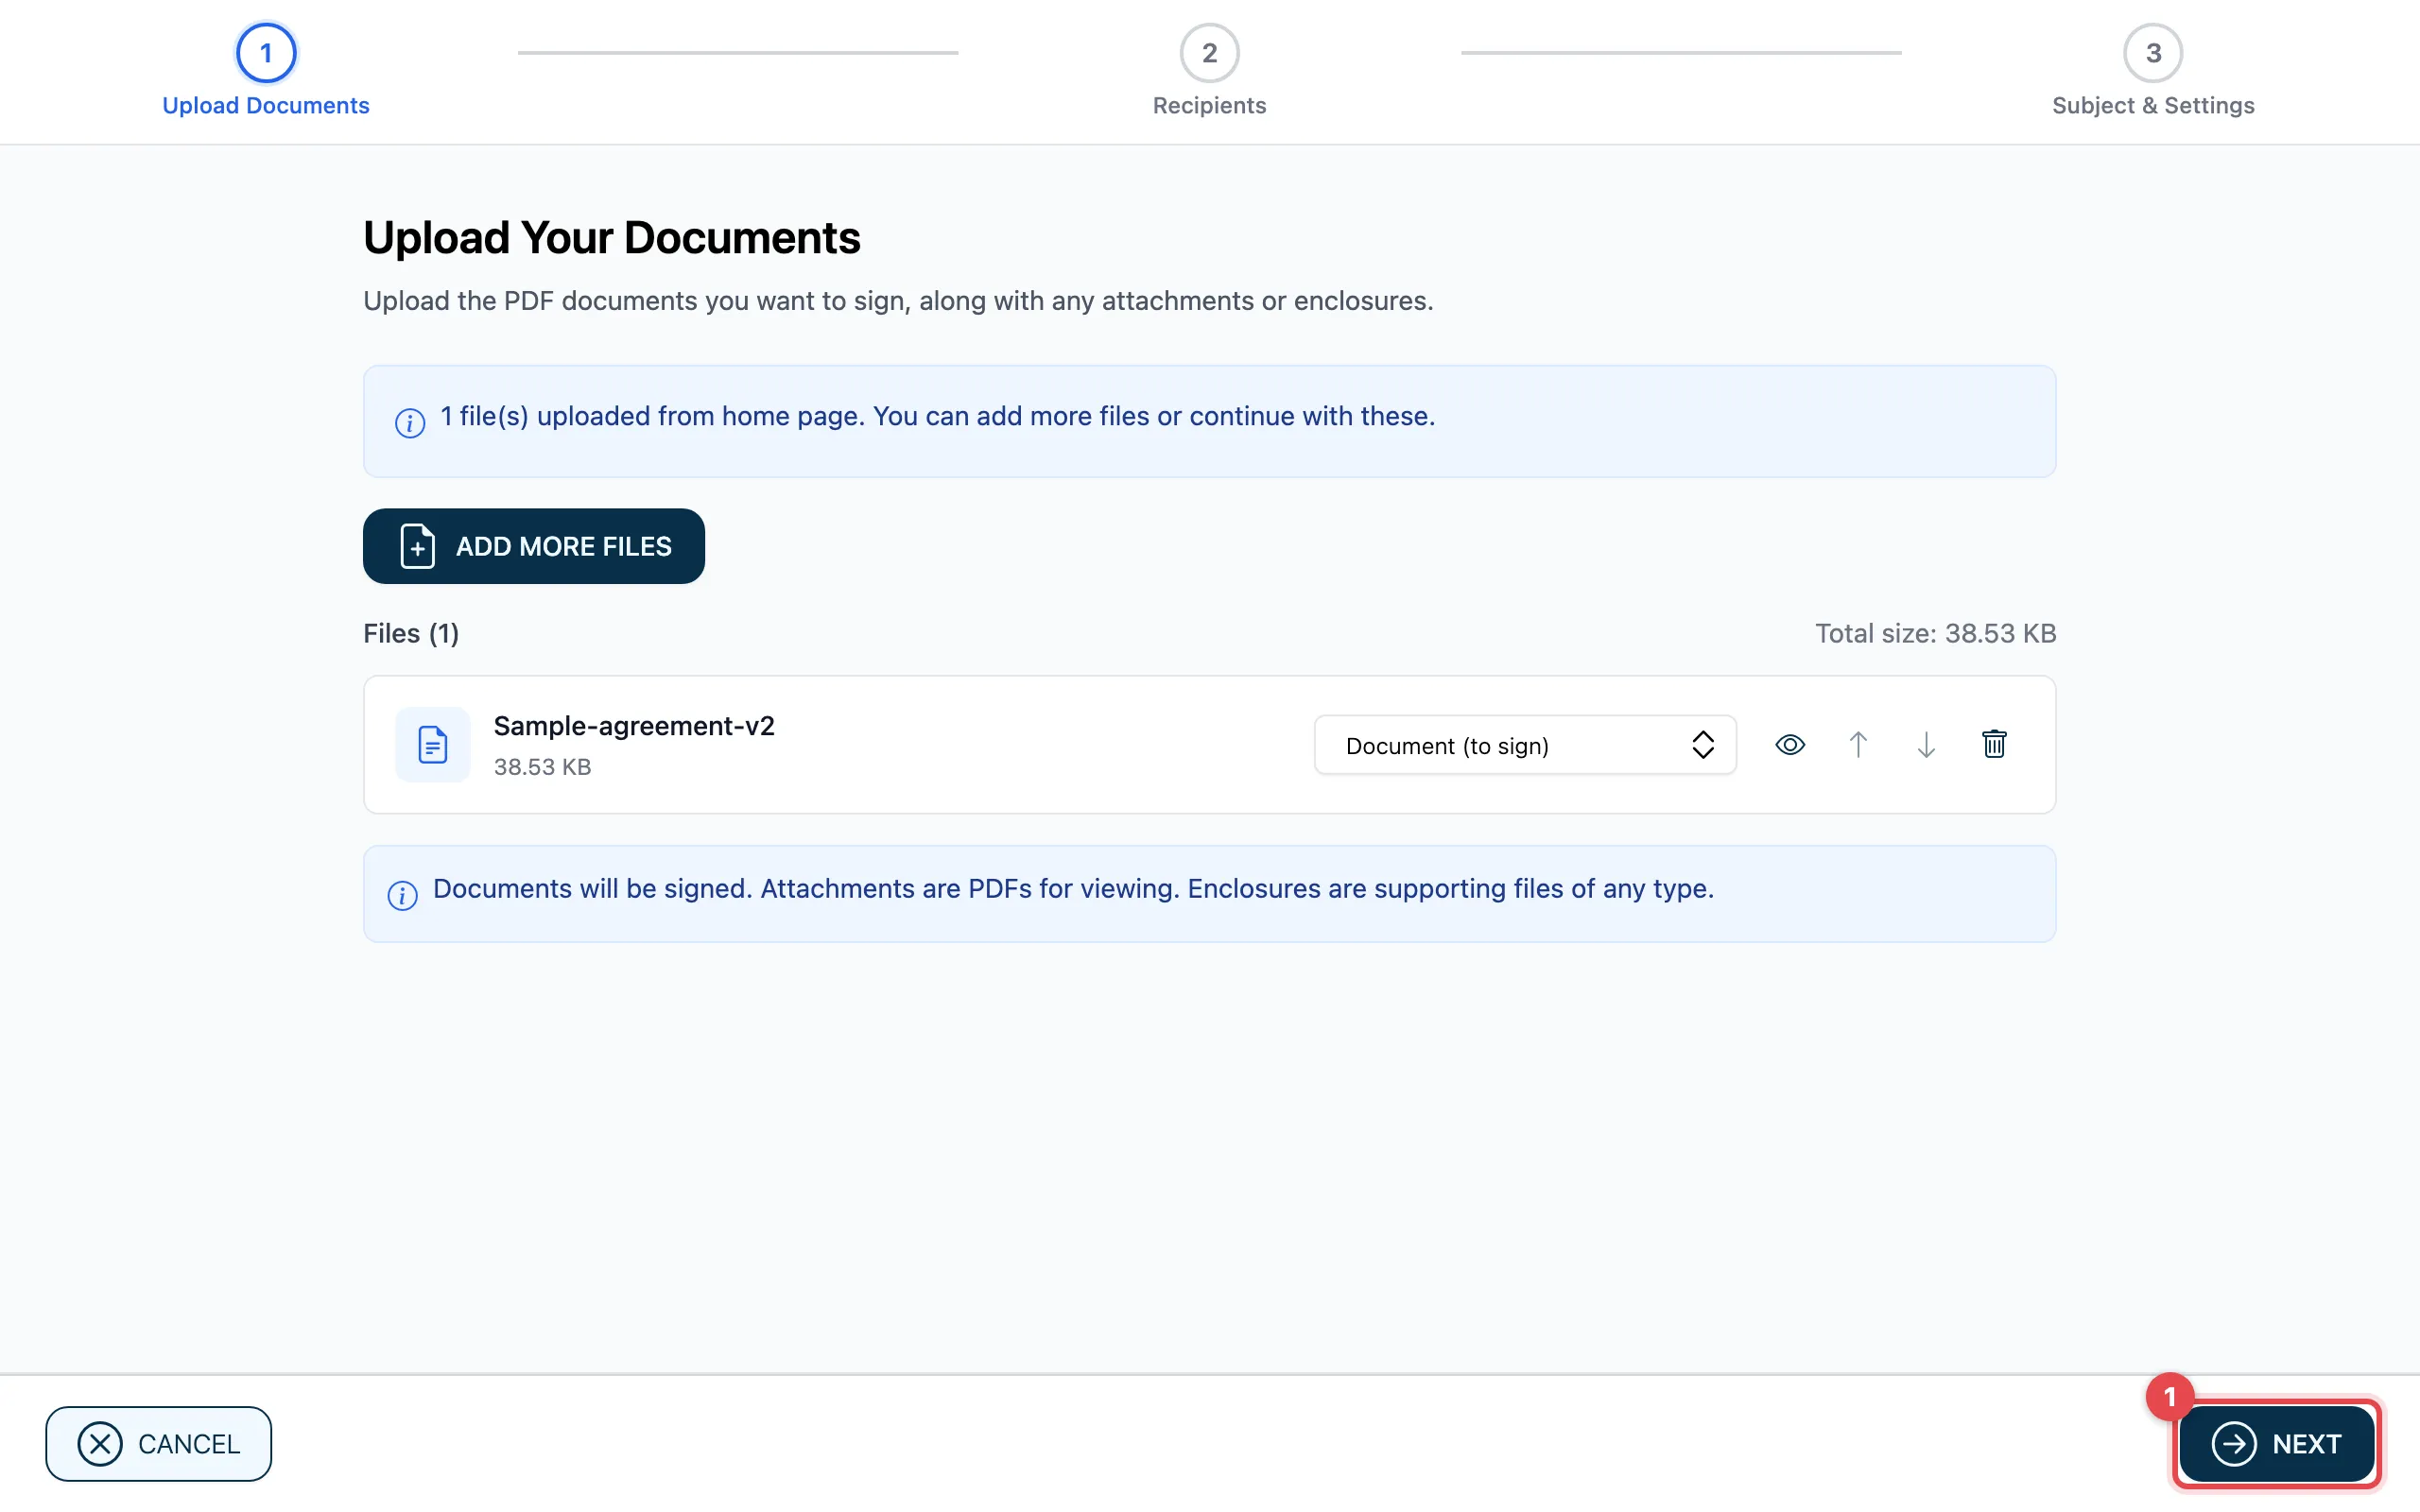
- Upload Documents: check and add files and set what is signed. See Upload documents.
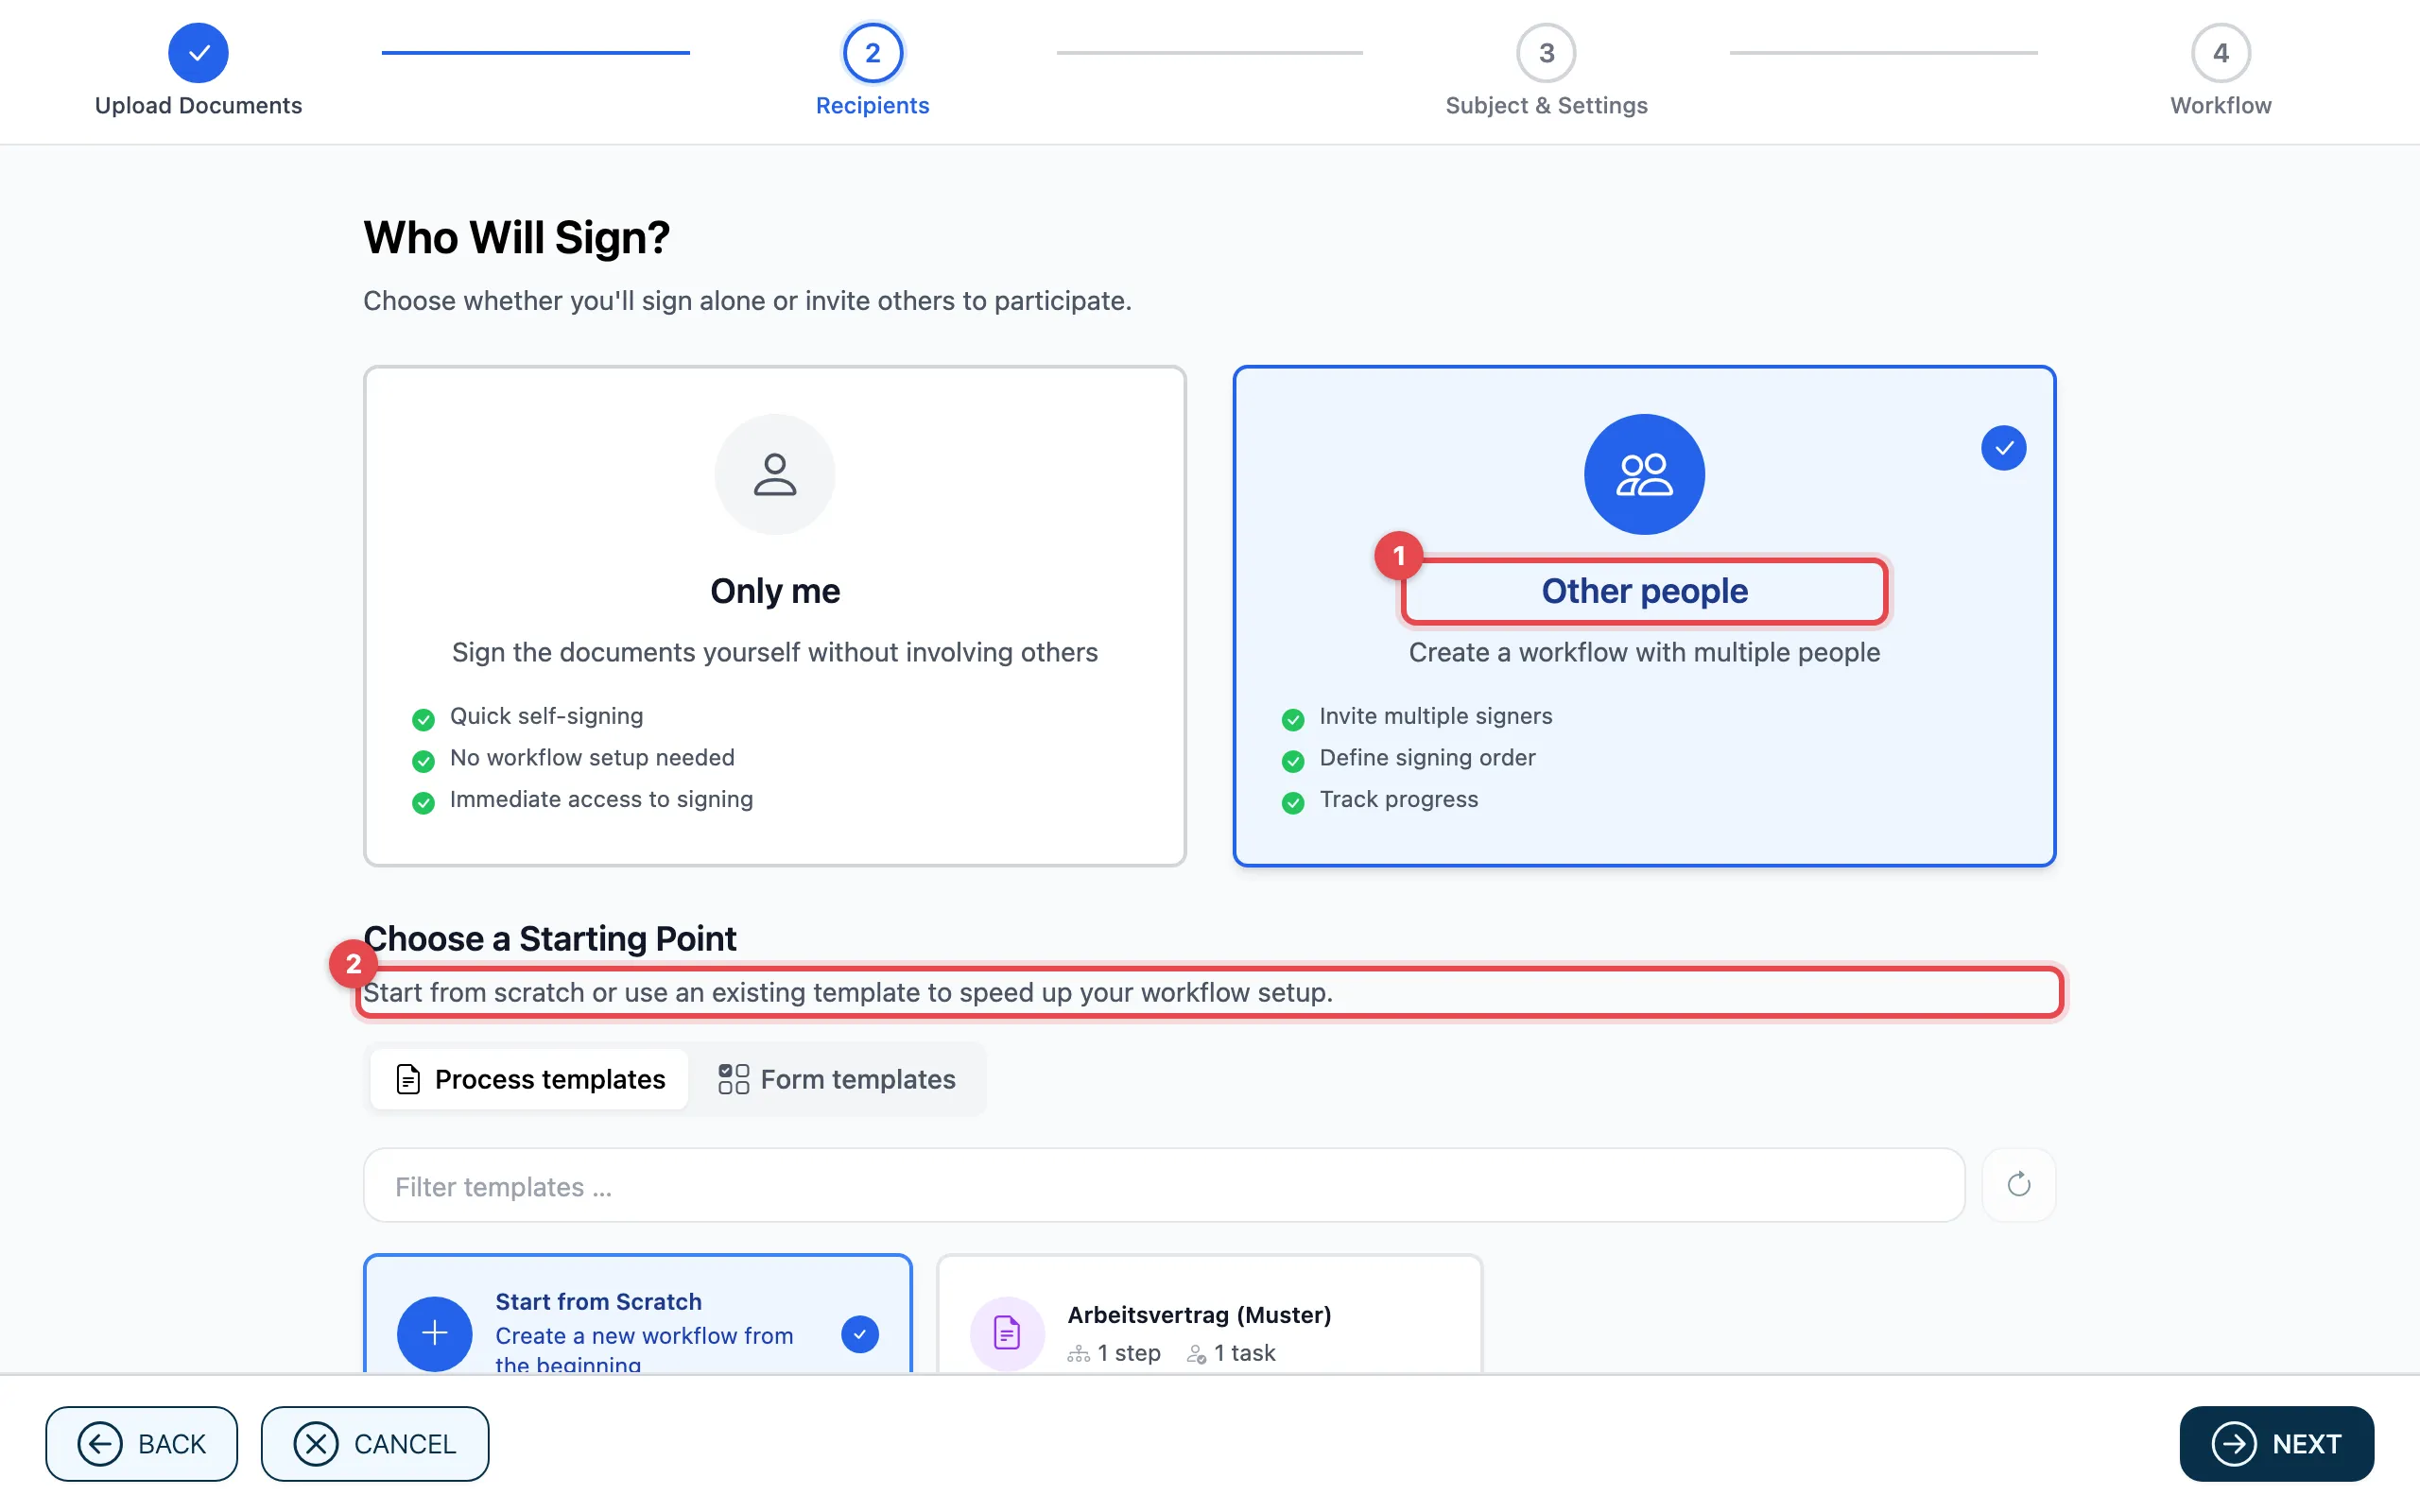
- Recipients: choose Other people and set the starting point (a template or Start from Scratch). See Recipients and starting point.
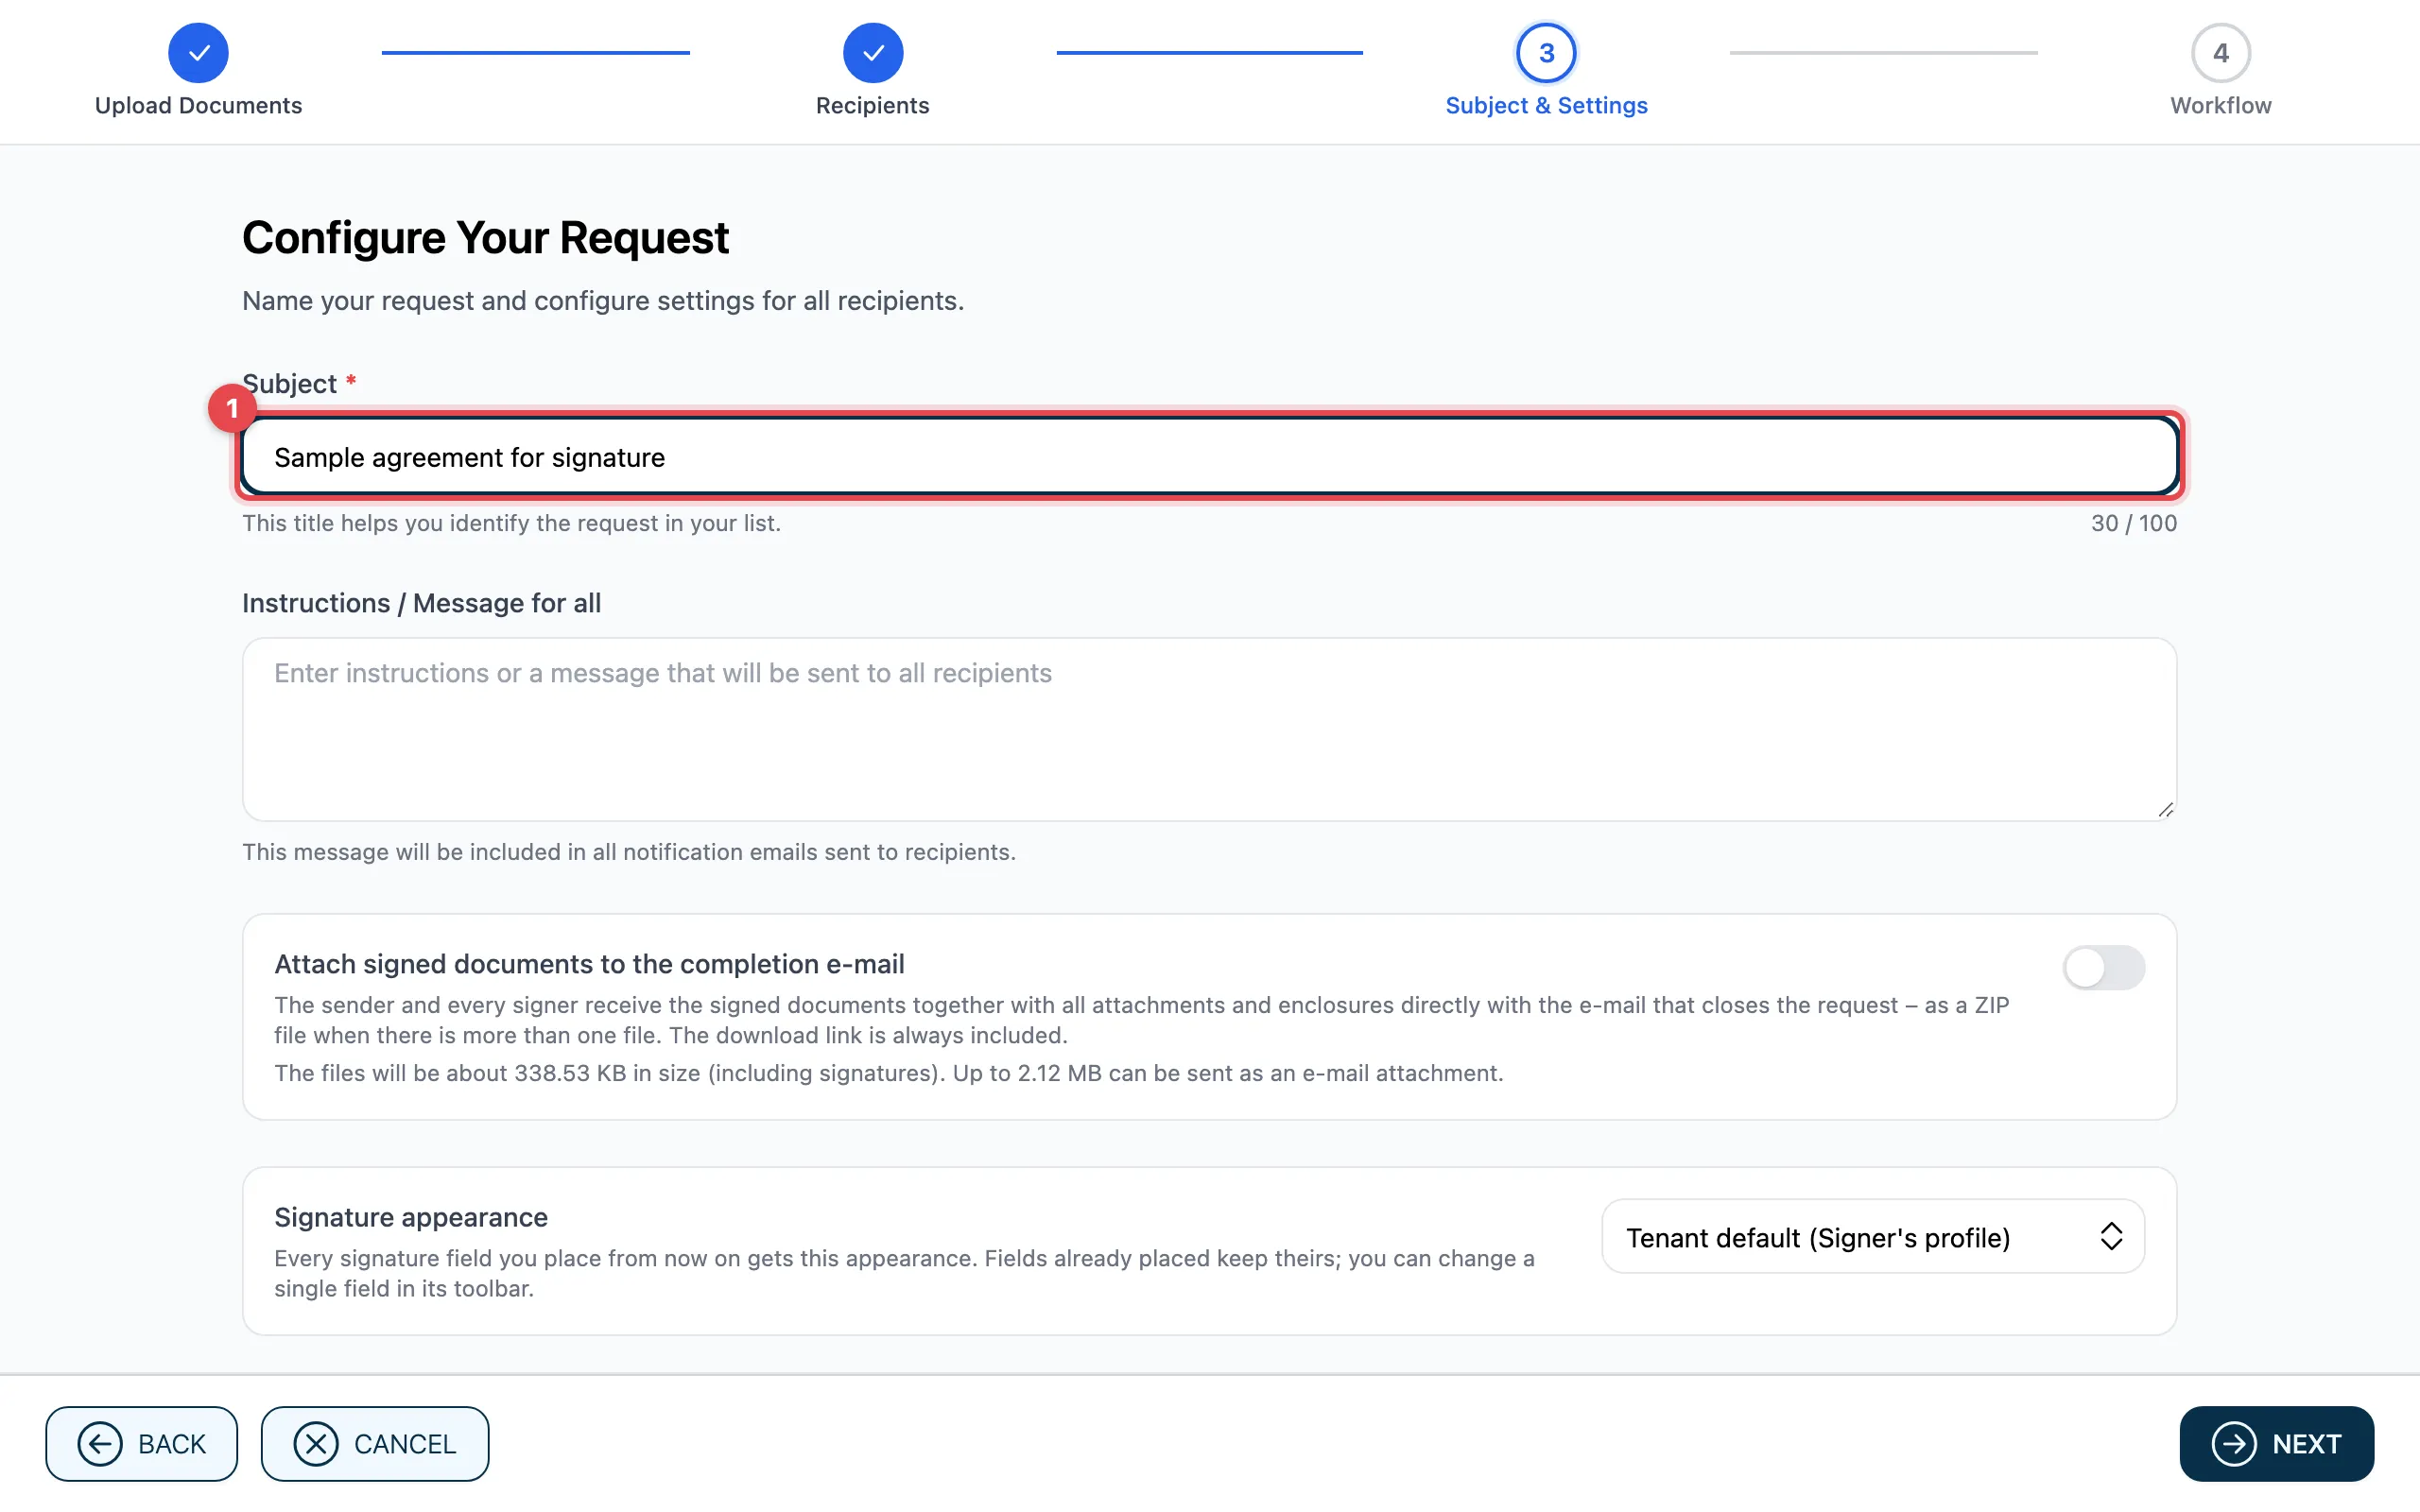
- Subject & Settings: enter the Subject and a message to all, plus further settings if needed. See Subject and message and Advanced settings.
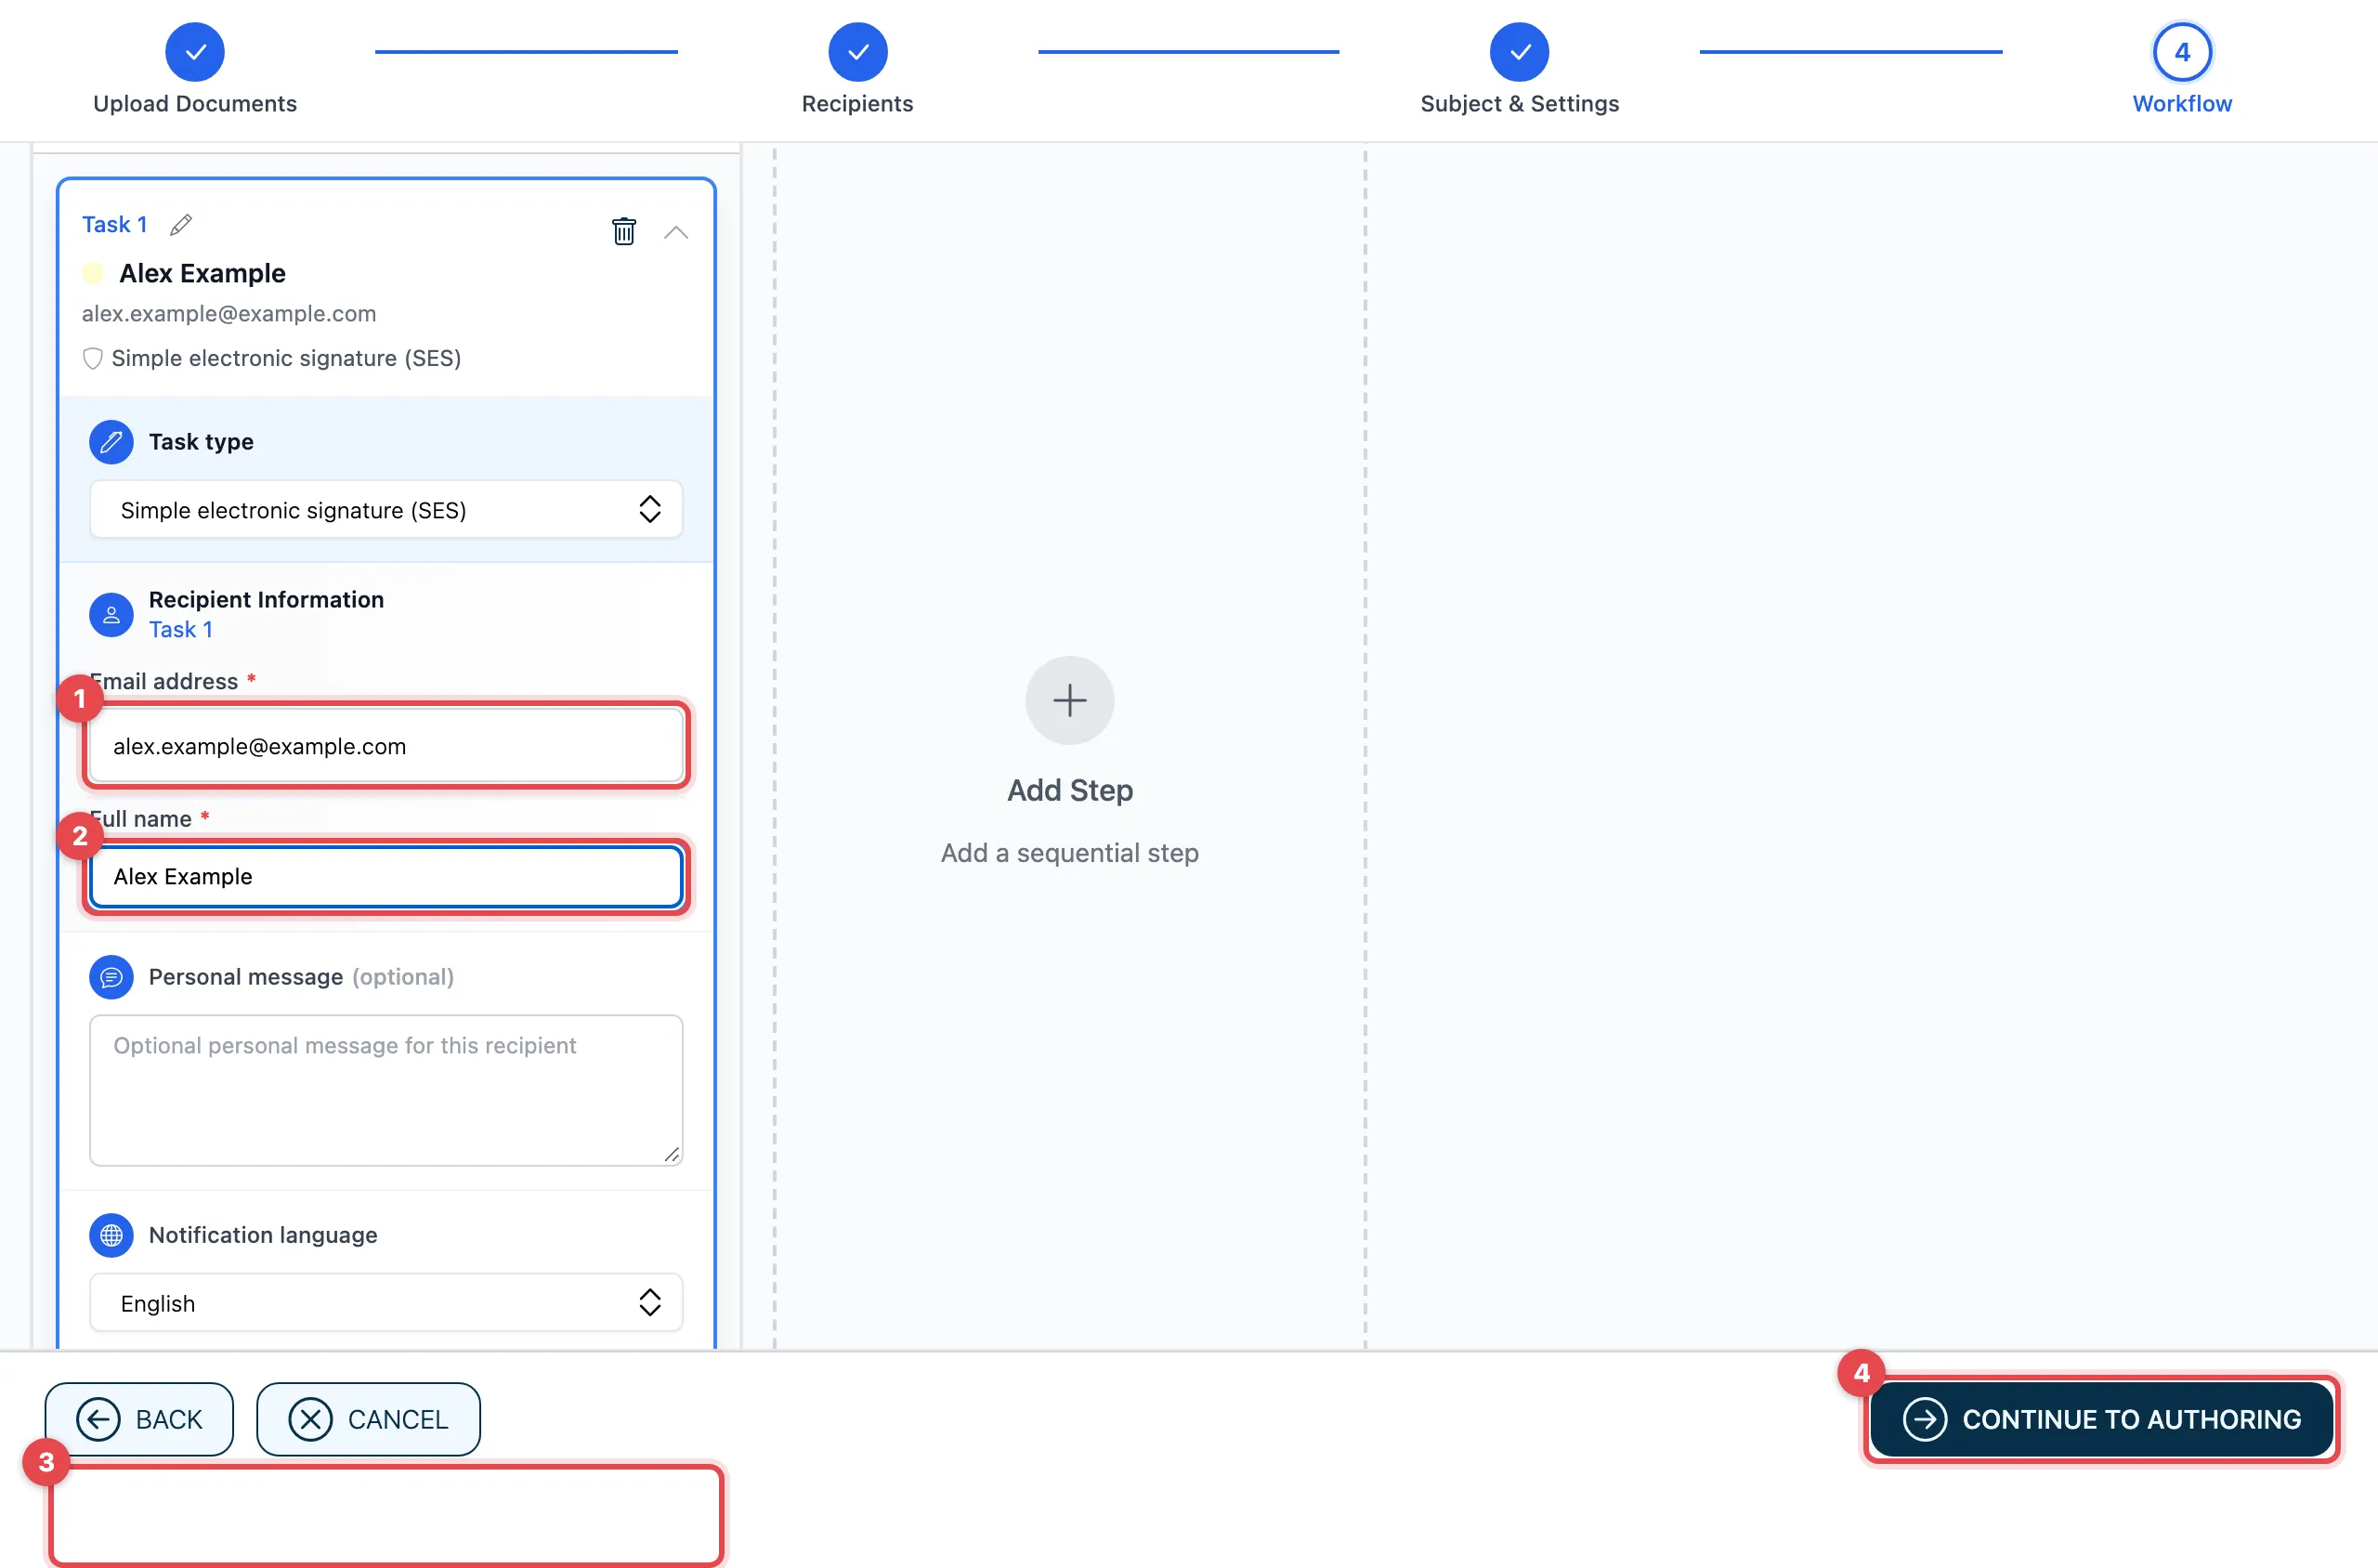
- Workflow: set who does which Task and in which order. See Workflow: who, in which order. With Continue to Authoring, actaSIGN opens the document.
Place fields and send
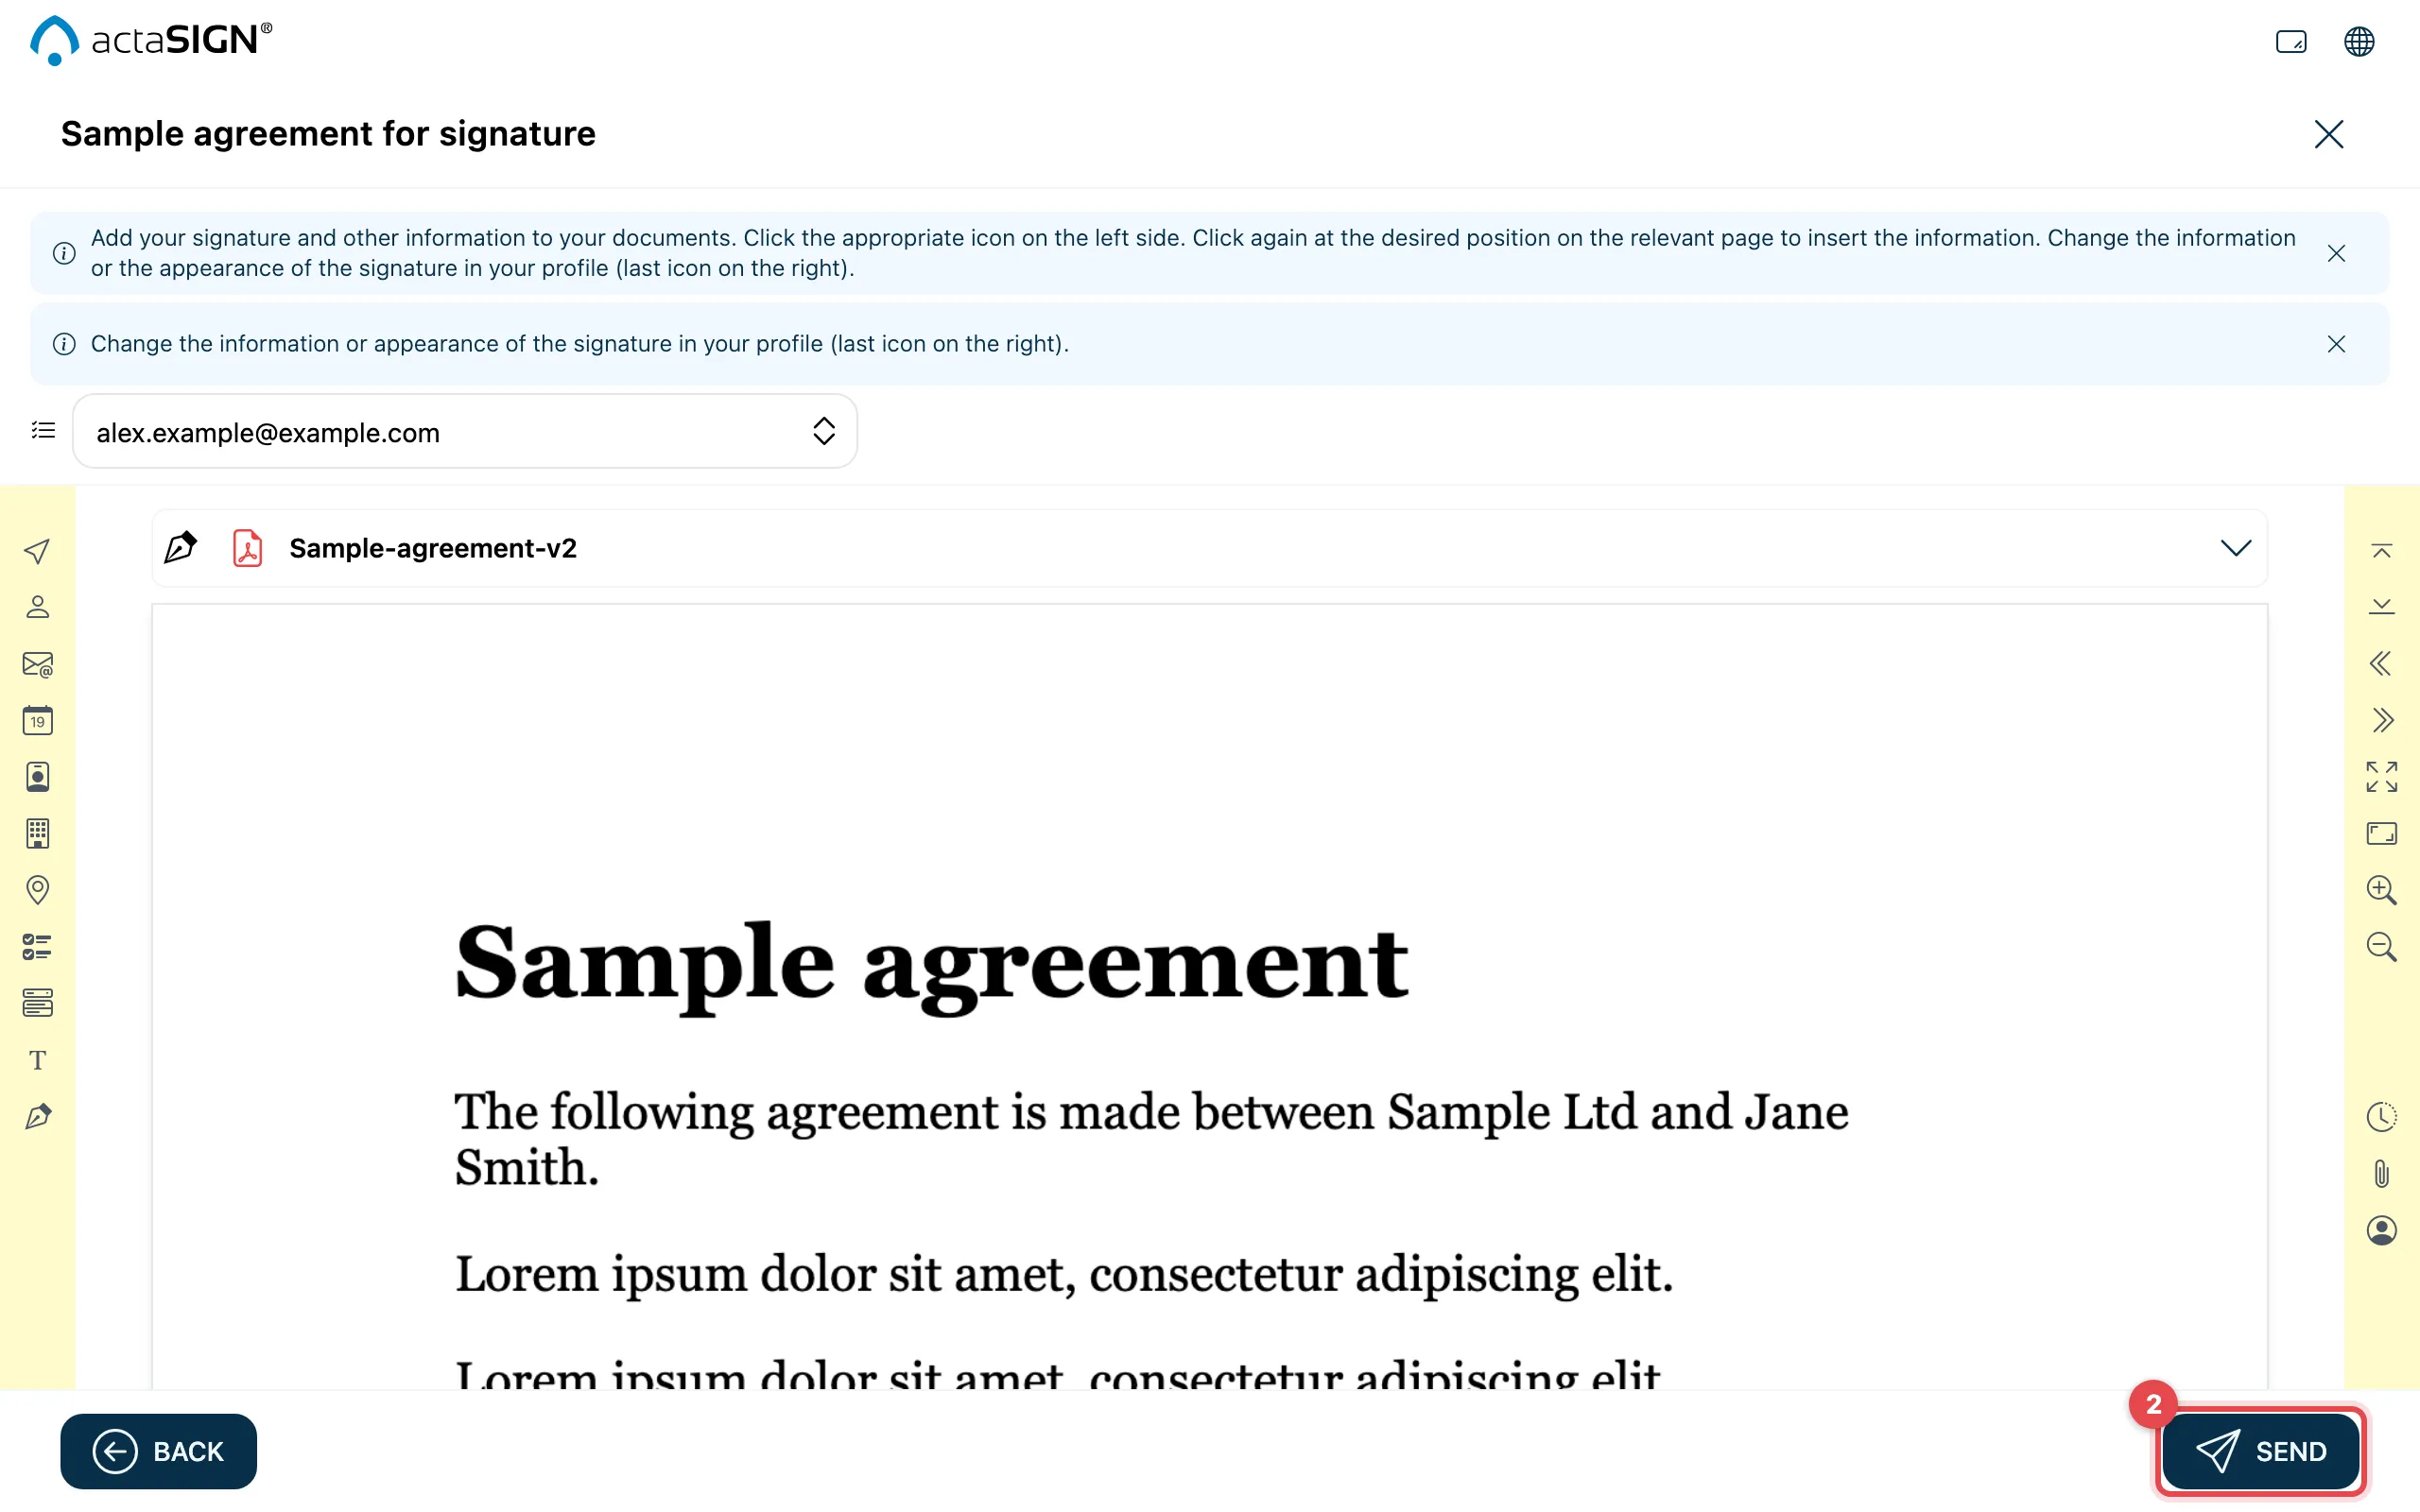
Section titled “Place fields and send”After Continue to Authoring you see the document. What the screen looks like depends on whether your organization uses the classic view or Studio. In both, Send is at the bottom right.
The tools for the fields are on the left.
The toolbar (1) for the fields is at the top.
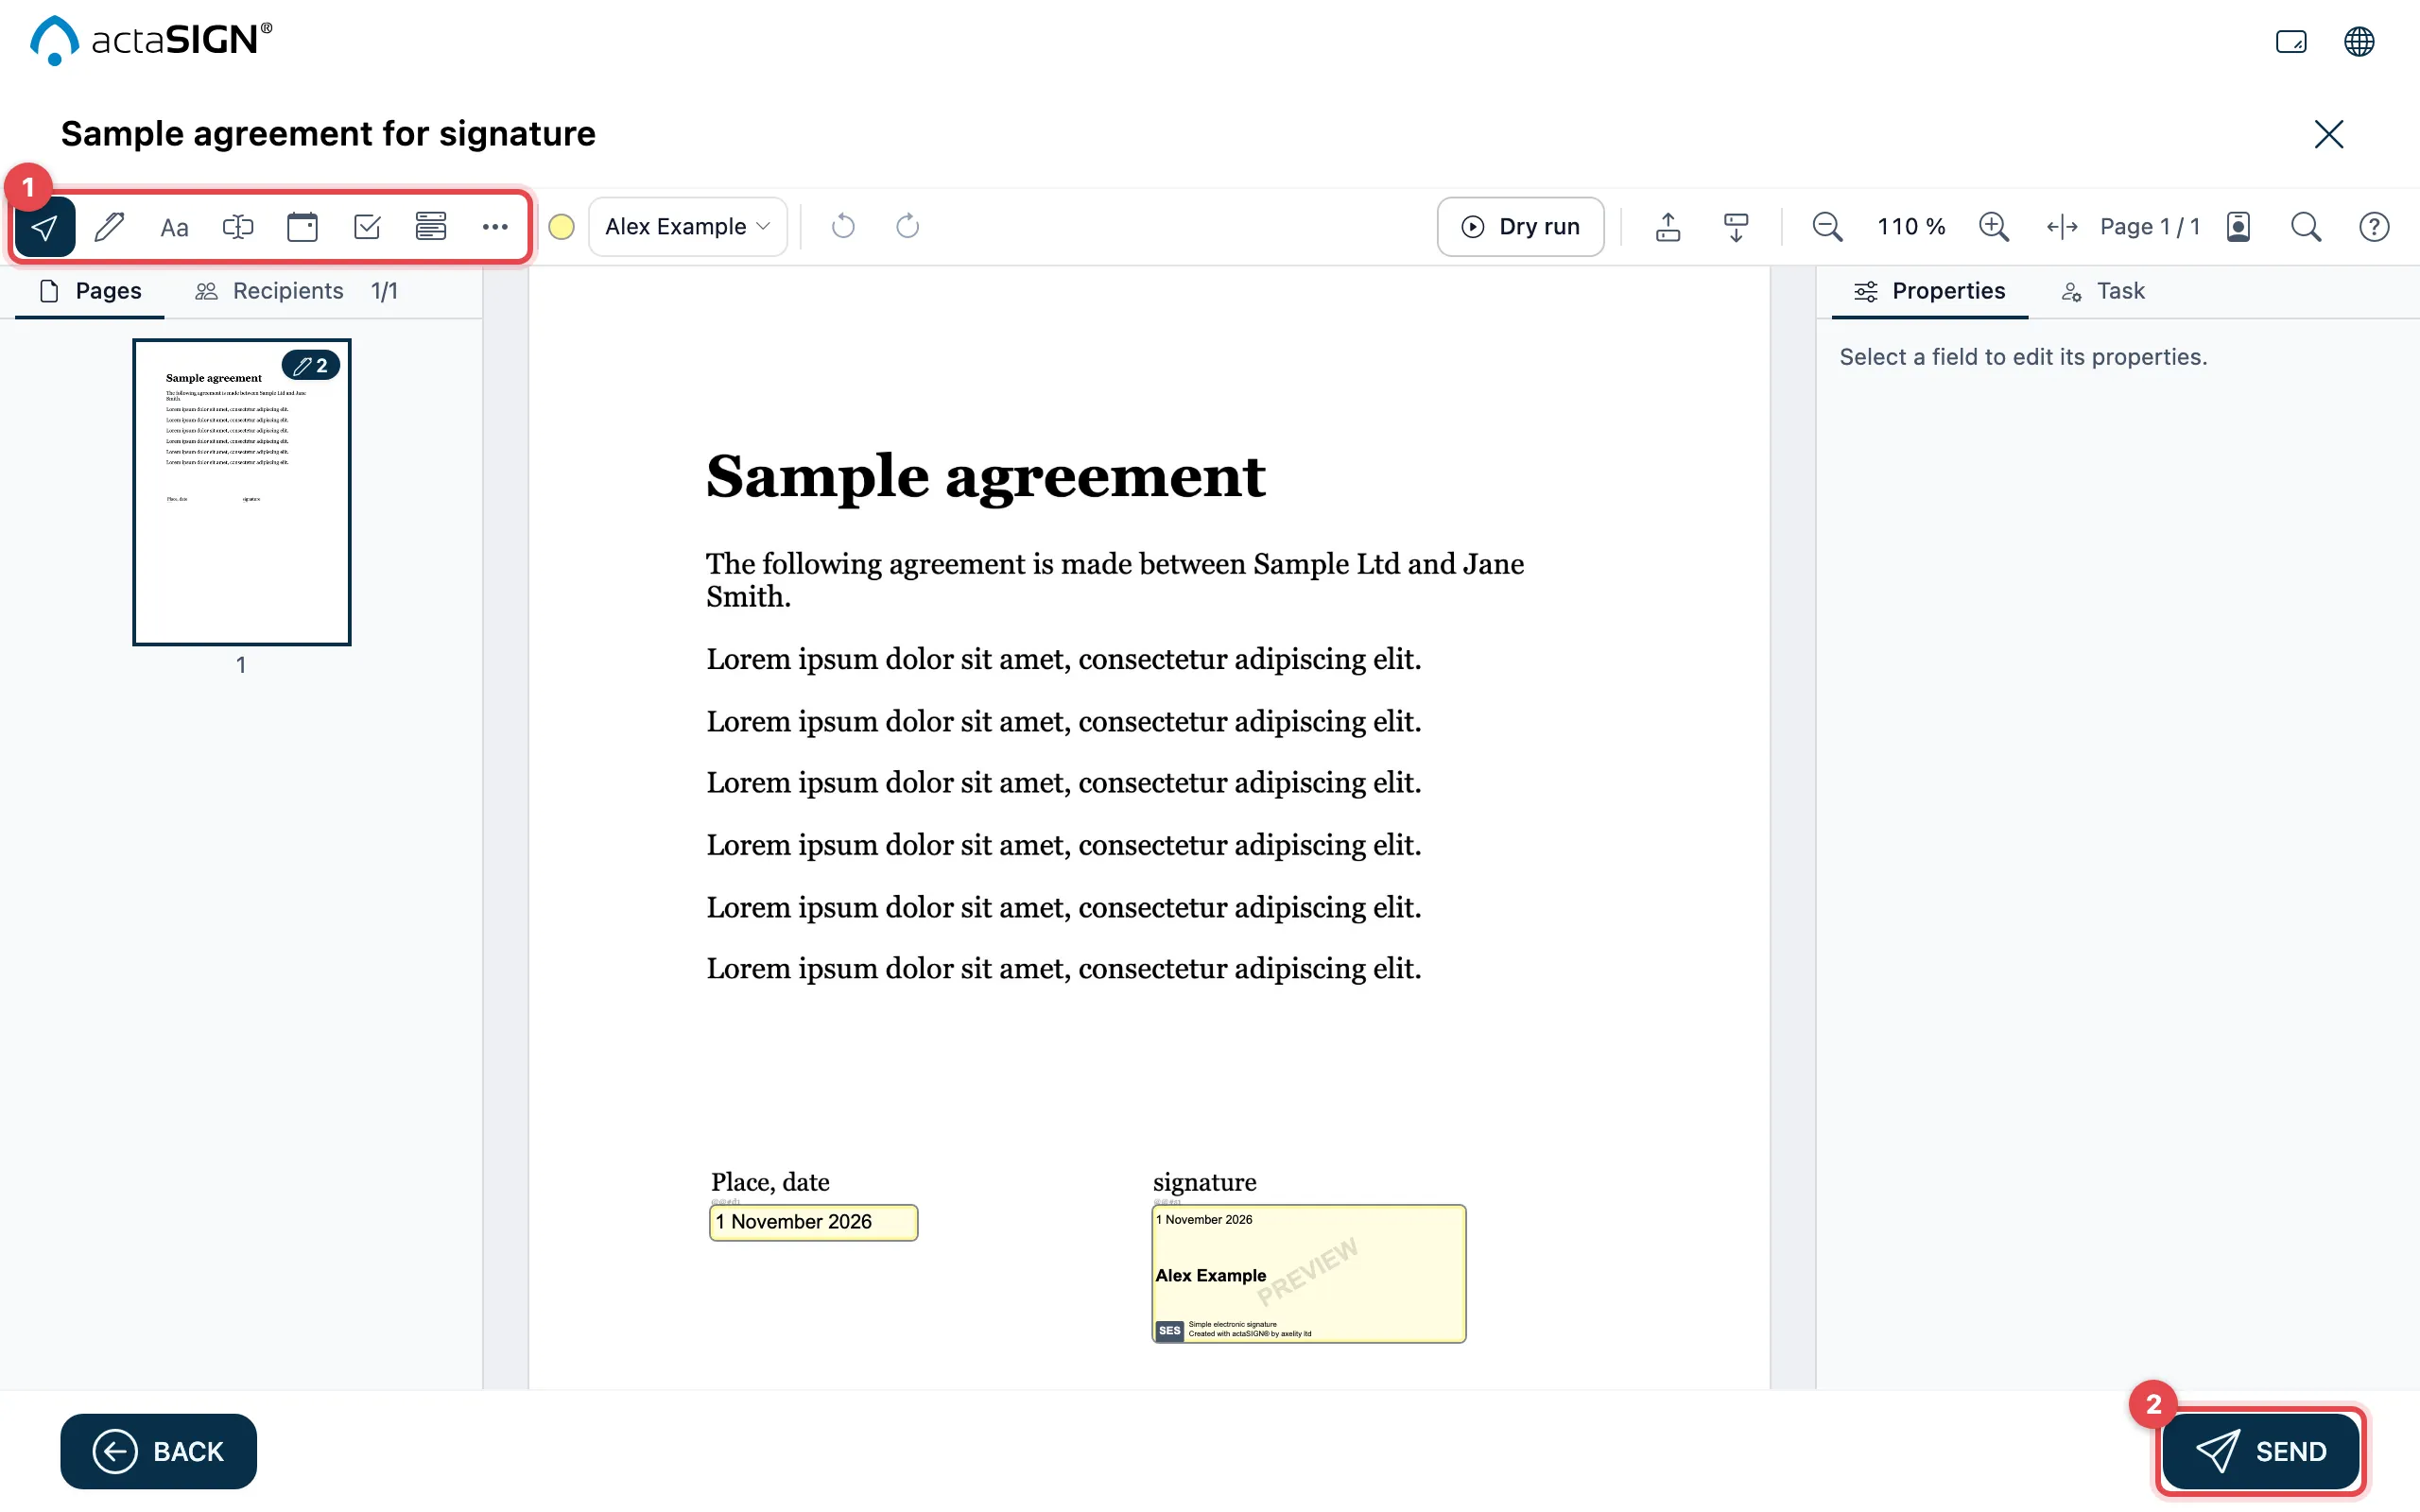
- For each person, place the fields they fill in or sign. See Place fields in the document. With placeholders in the PDF, actaSIGN places them by itself.
- Click Send. See Send a request.
Which page for which question
Section titled “Which page for which question”| You want to … | Page |
|---|---|
| send attachments or enclosures along | Upload documents |
| use a template | Recipients and starting point |
| set reminders, a deadline or observers | Advanced settings |
| have several people sign one after the other or at the same time | Workflow |
| choose the right type of signature | Task types |
| protect a task with an SMS code or password | Protect a task |
| allow someone to delegate or download | Permissions of a task |
| sign yourself as well | Sign yourself too |
| place fields | Place fields |
| use the new document screen | Studio |
Good to know
Section titled “Good to know”- With Only me in step 2 you sign alone. Then there is no workflow step. See Sign yourself.
- If you start from a template, step 2 is skipped: the template already sets the recipients.
- With Cancel at the bottom left you leave the assistant. If documents have already been saved, actaSIGN asks whether you want to keep or delete the prepared request. See Send a request.
- If the new document screen is switched on in your organization, the screen looks different after Continue to Authoring. Then choose the “Studio” tab above the picture. What Studio is, is explained under Studio: the new document screen.